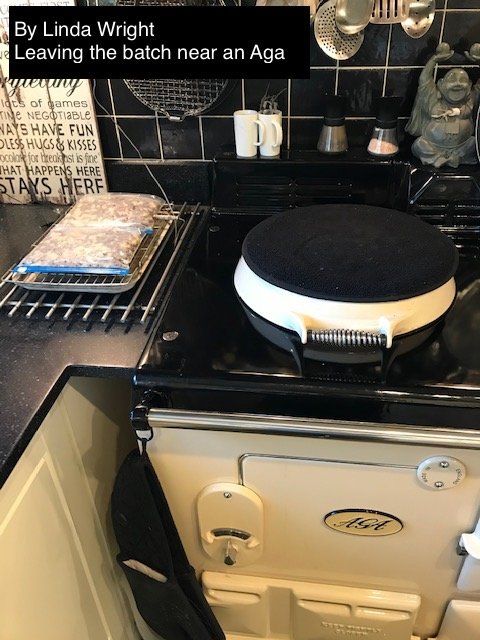
DIY tempeh incubator inspiration from our buyers
There are many different ways that you can incubate tempeh. In Europe we are not lucky enough to have a perfect outside temperature all year round to make tempeh and therefore have to be creative to achieve this. We use an electric blanket in colder months, but some of our customers have successfully created their own incubators and have kindly shared these below. This page will be updated regularly.
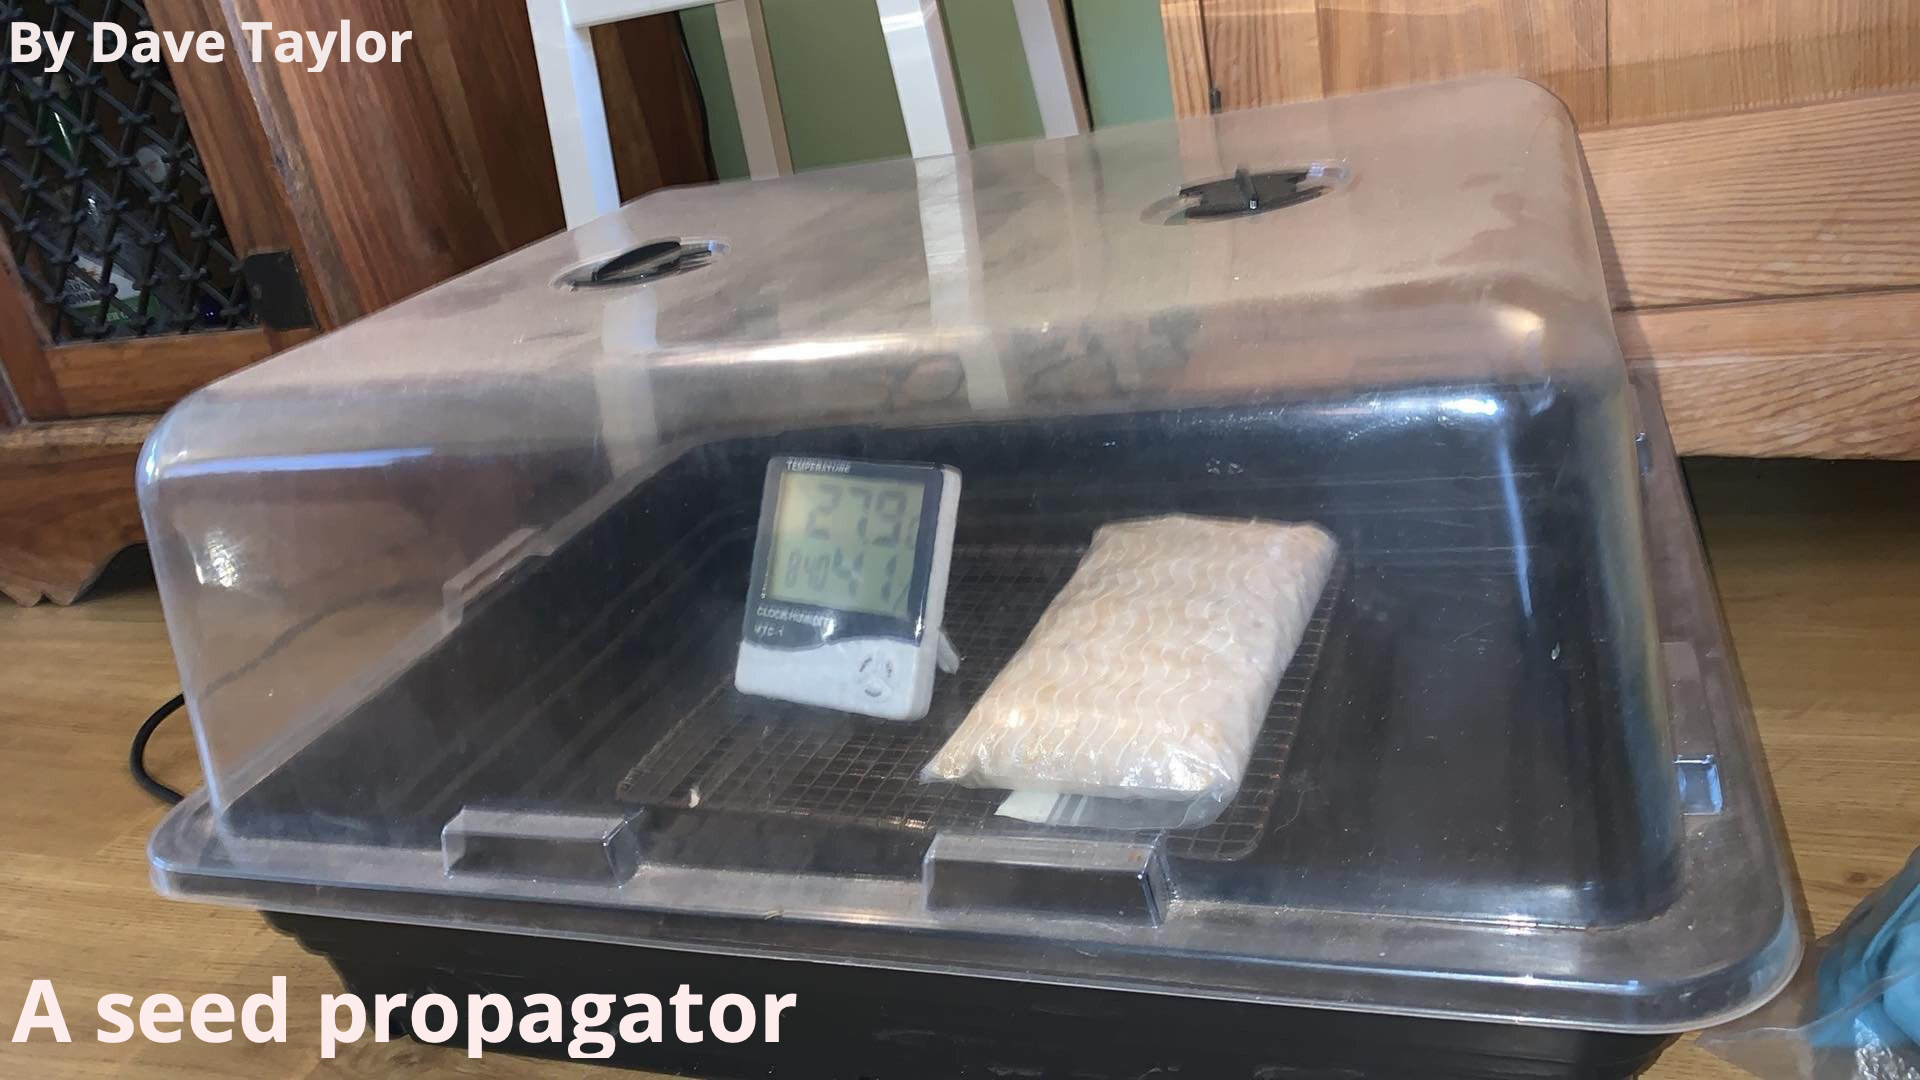


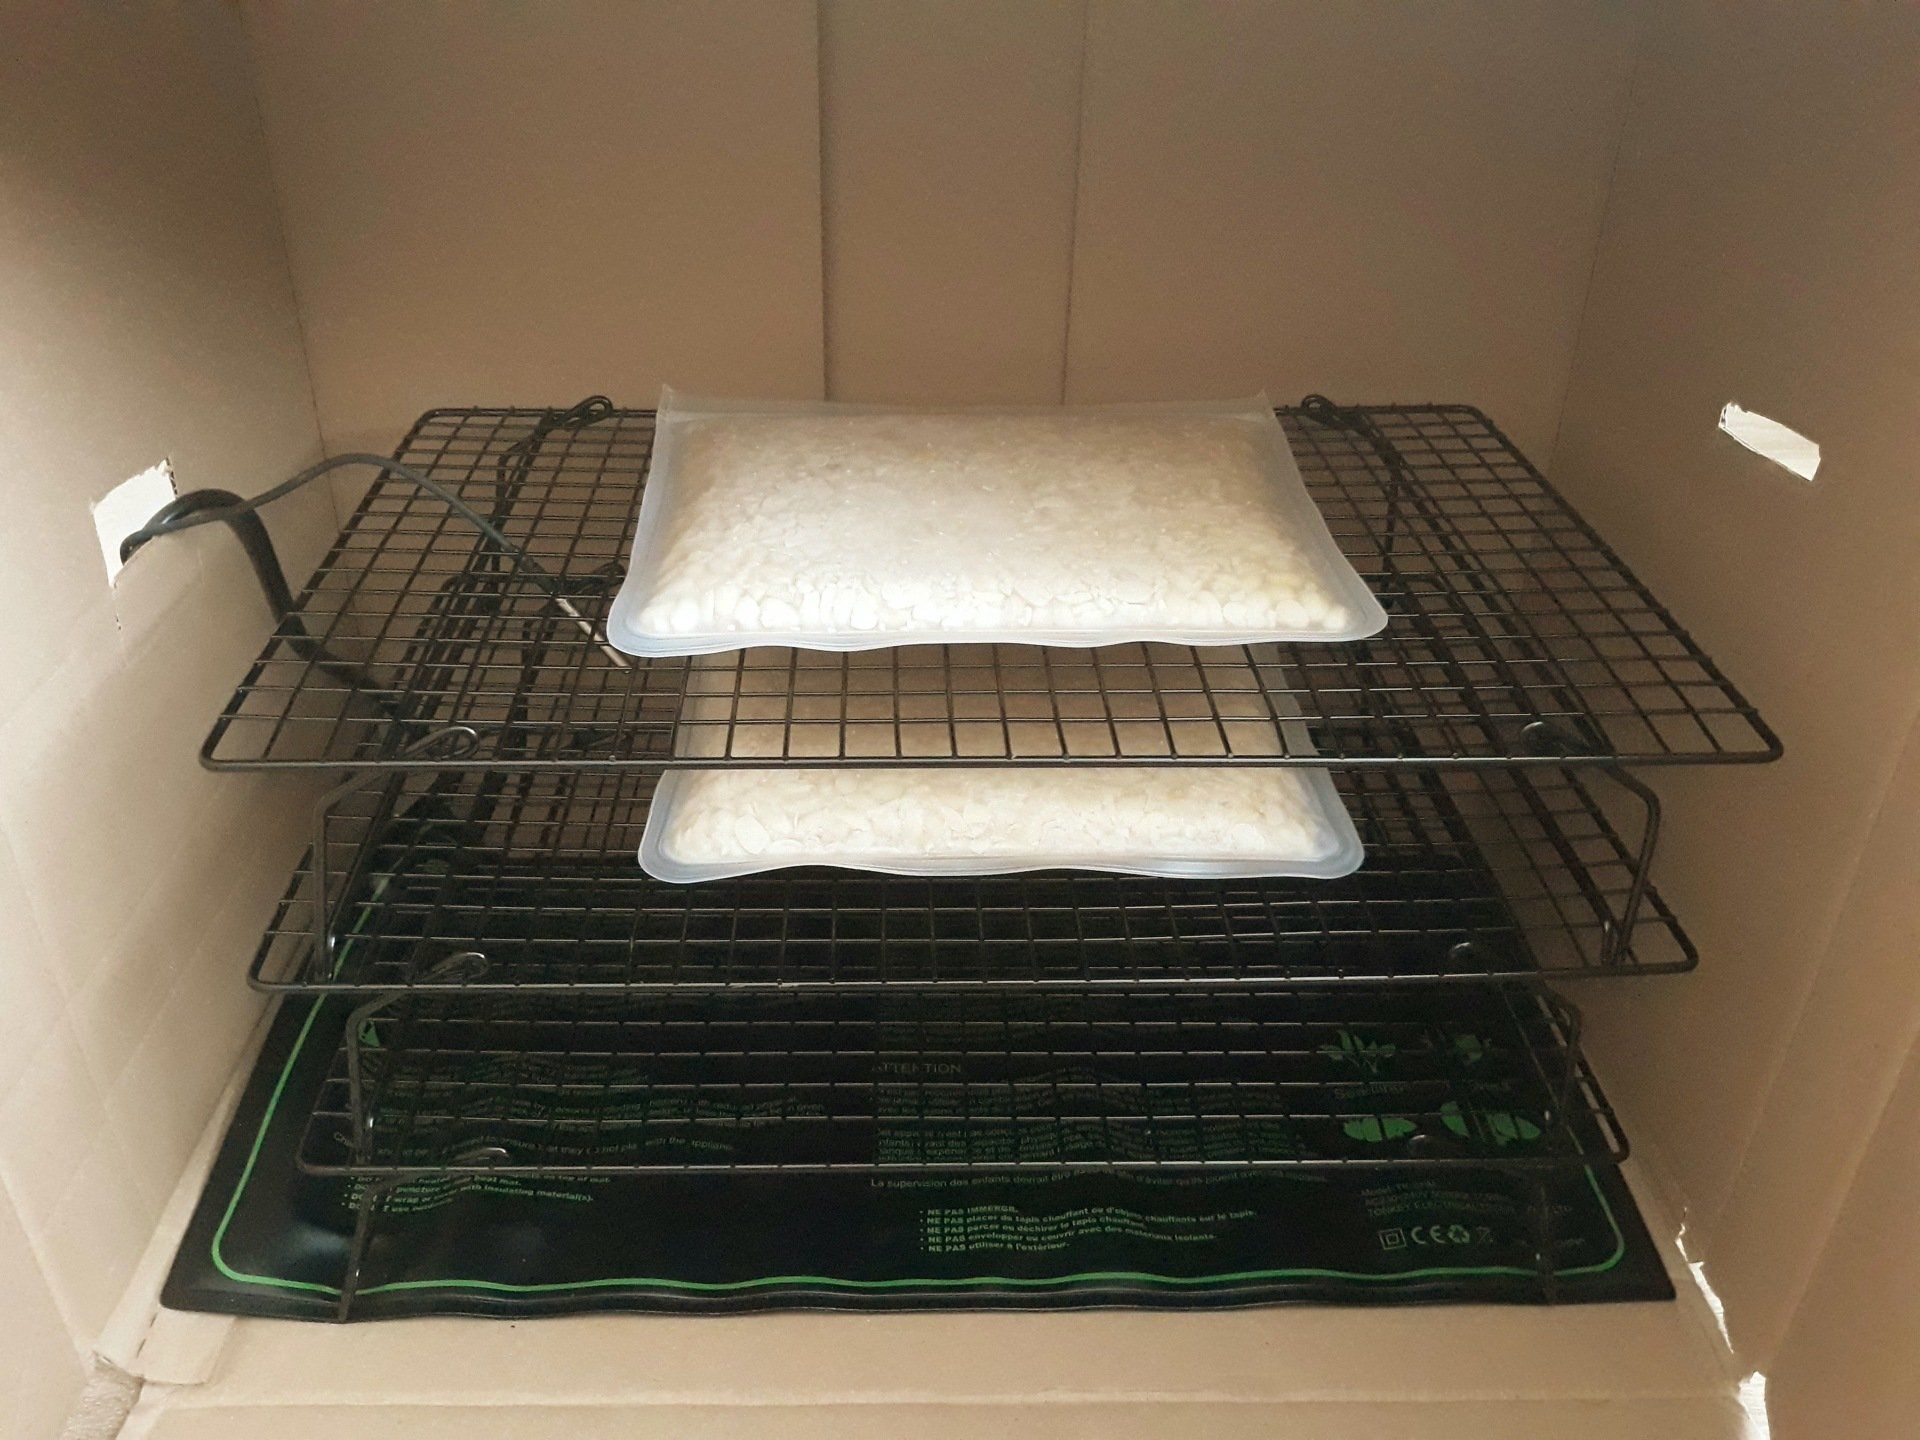
Reptile heating mat
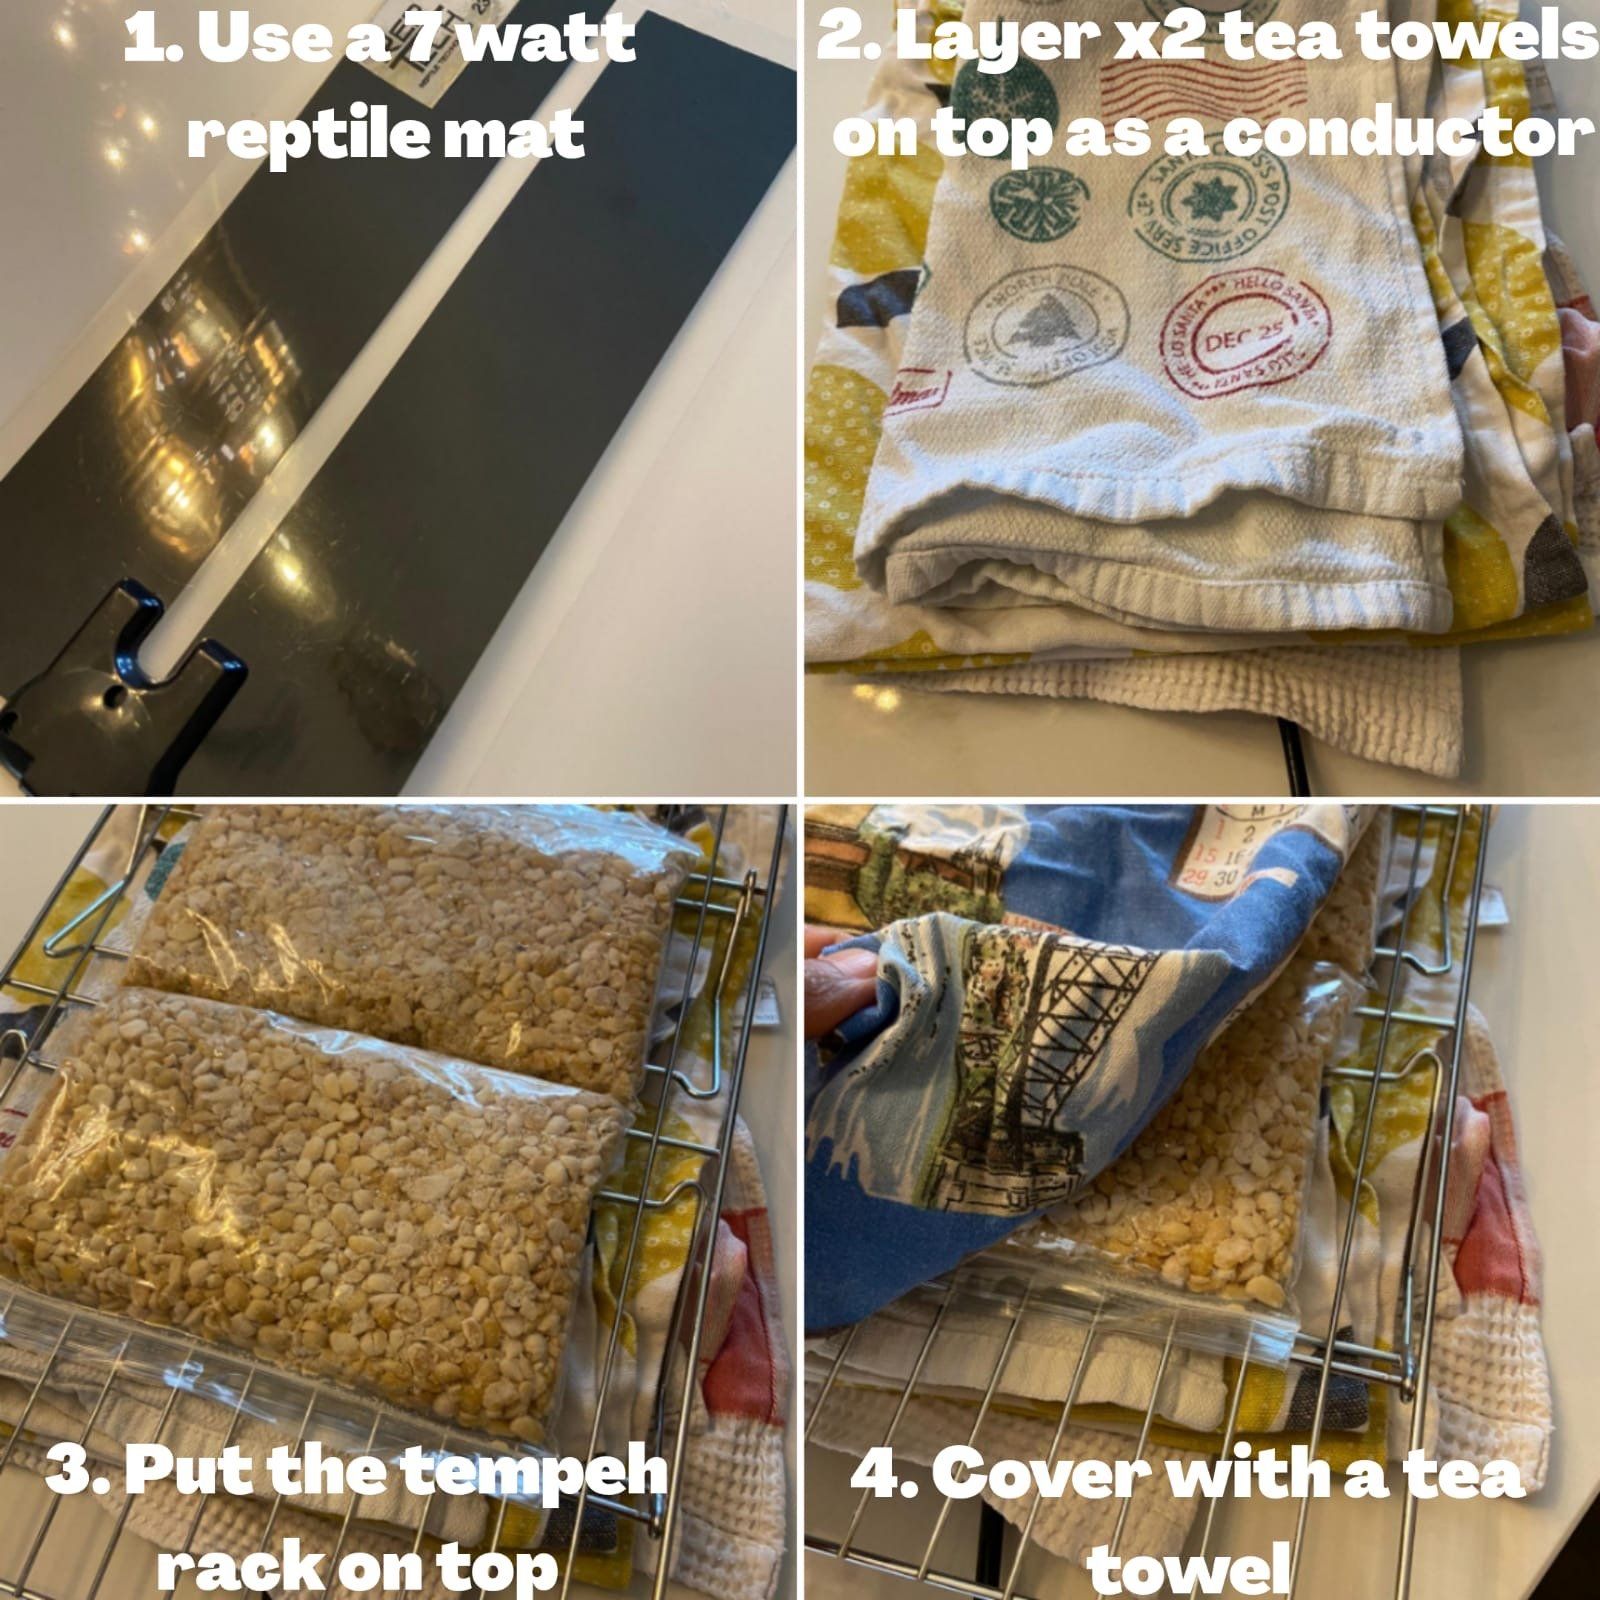
Sometimes when I fancy making a small batch of tempeh I use this reptile heater (no, I don't have any reptiles in the house). Online the price can vary from £13 - £30. I use the smallest wattage (7W) which gives the best result along with fast fermentation. There is no need to buy a higher wattage heater.
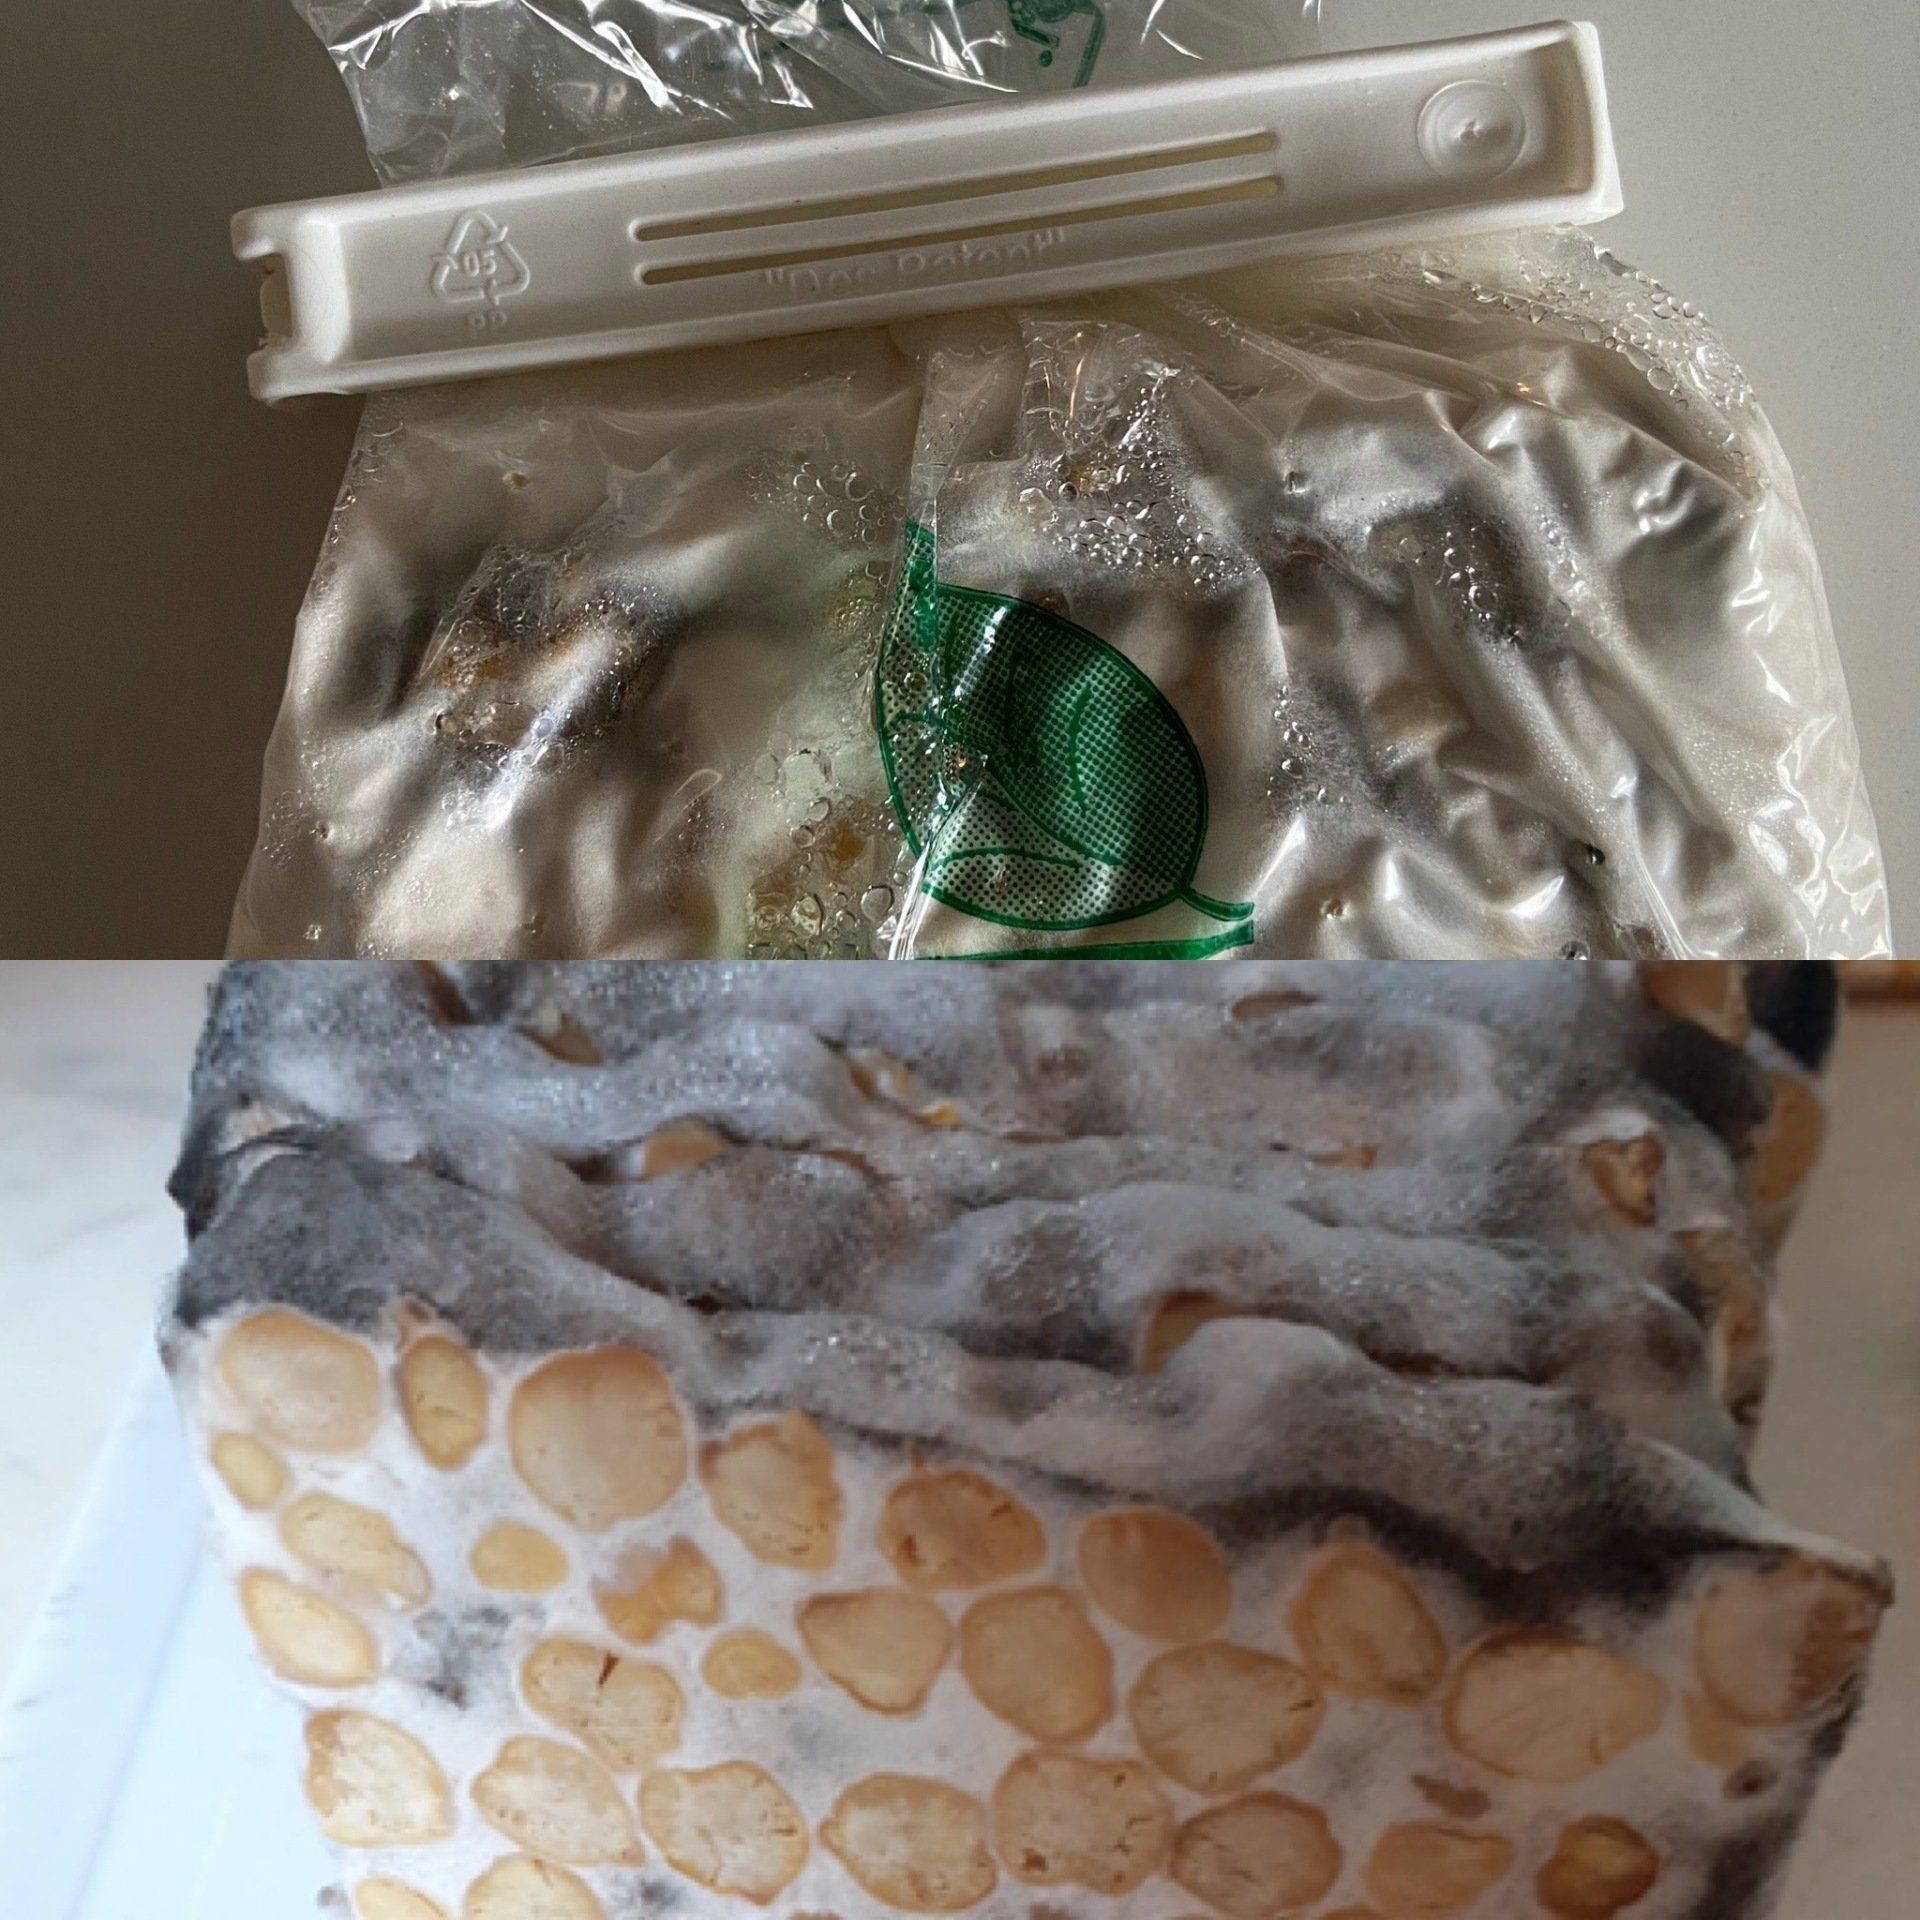
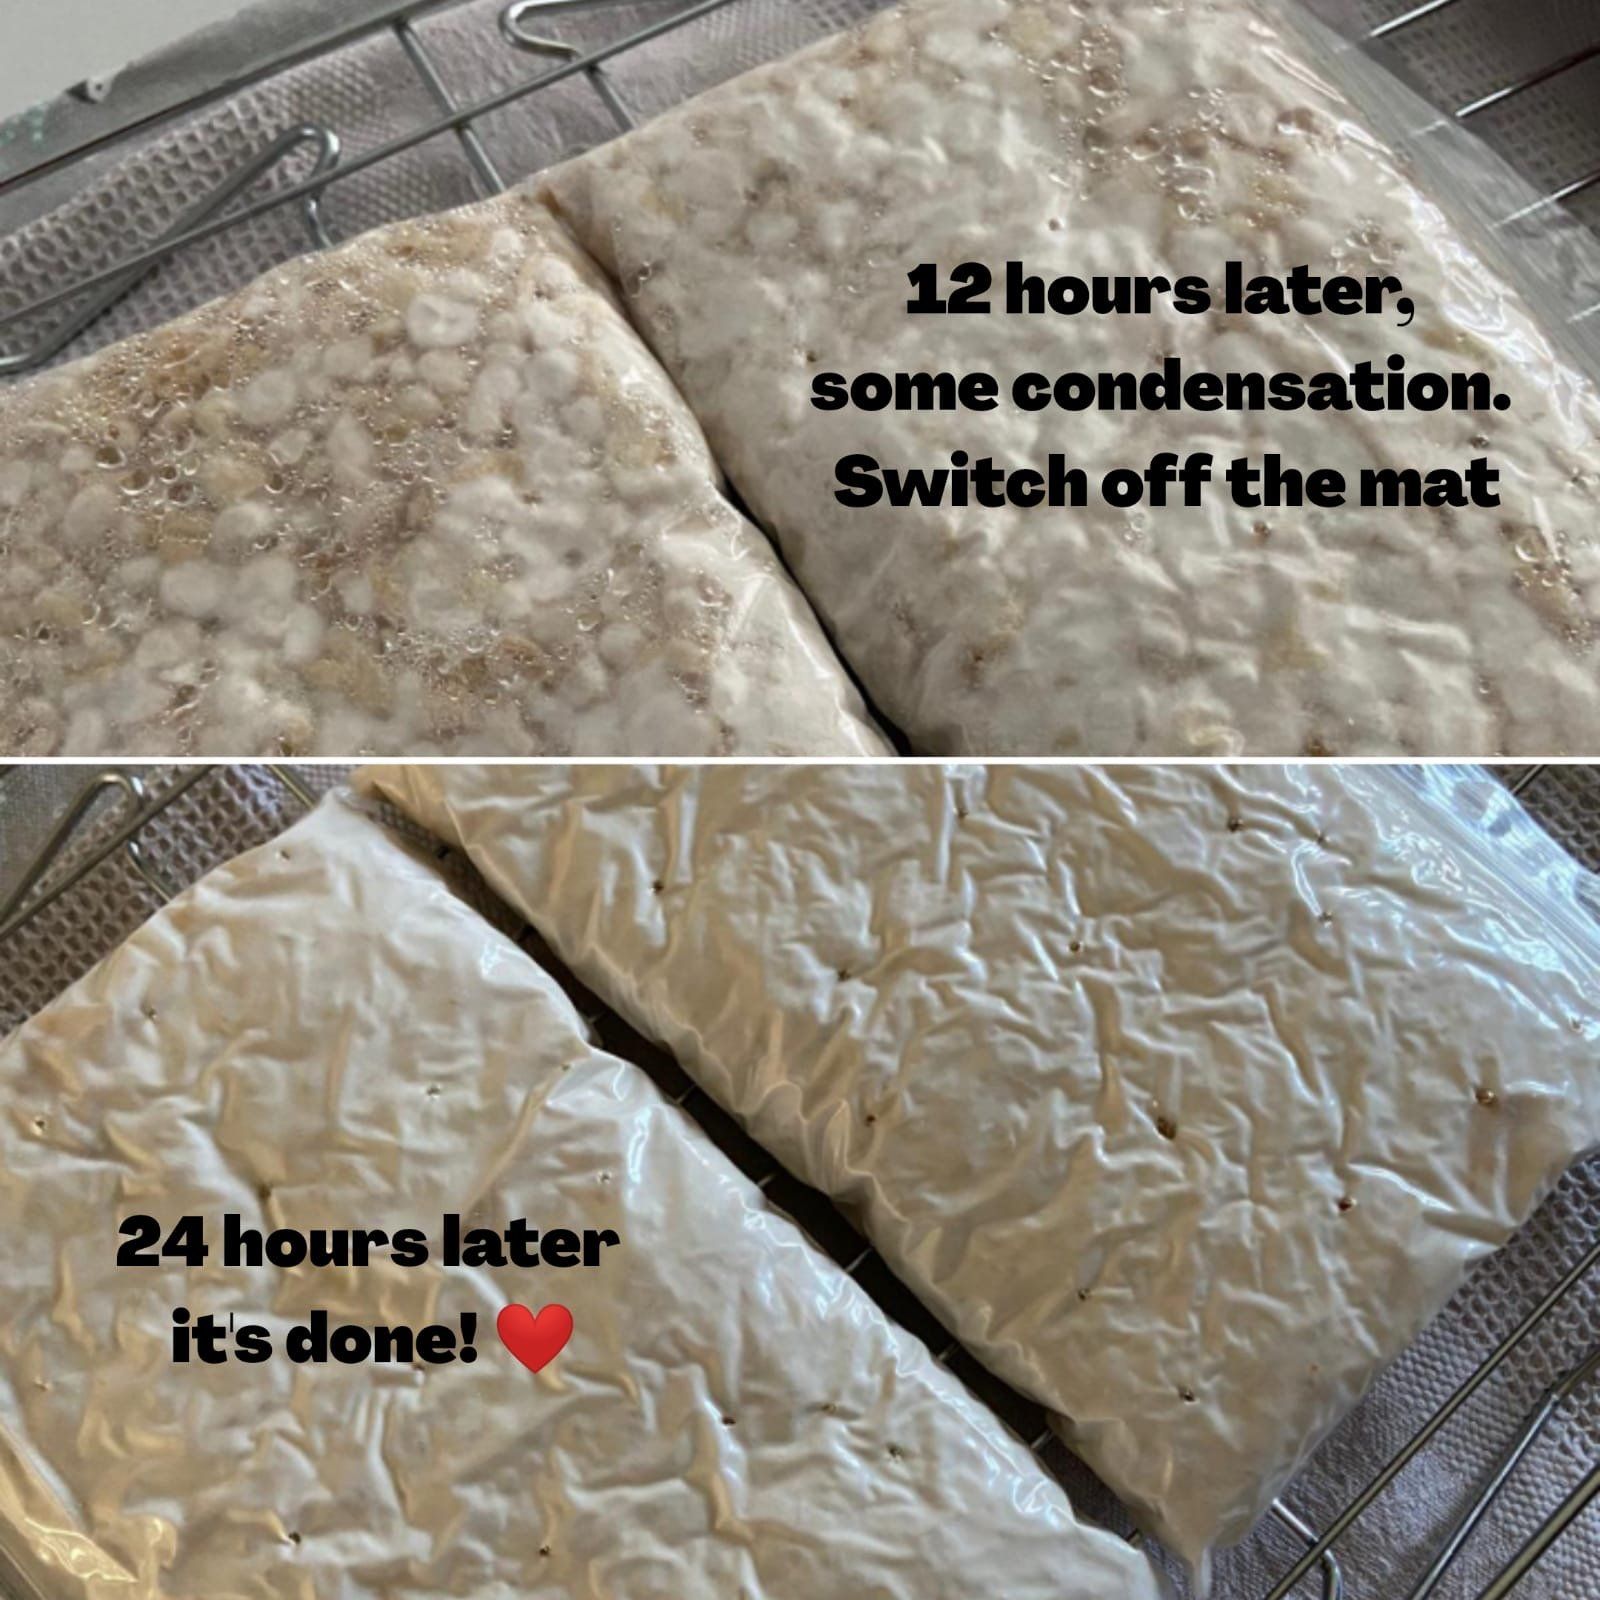
Please follow the clockwise step by steps using the photo above. For this batch I switched on the mat at around 7pm on Monday evening. On Tuesday morning at 7am condensation was already appearing on the plastic (see photo below) so I quickly switched off the heater, gave the batch a quick fan before putting the tea towel back on. The first 12 hours of the process are crucial as if the heater is left on too long the batch will overheat and spoil. Therefore it is important to check for condensation within the first 12 hours and turn off the heater if necessary.
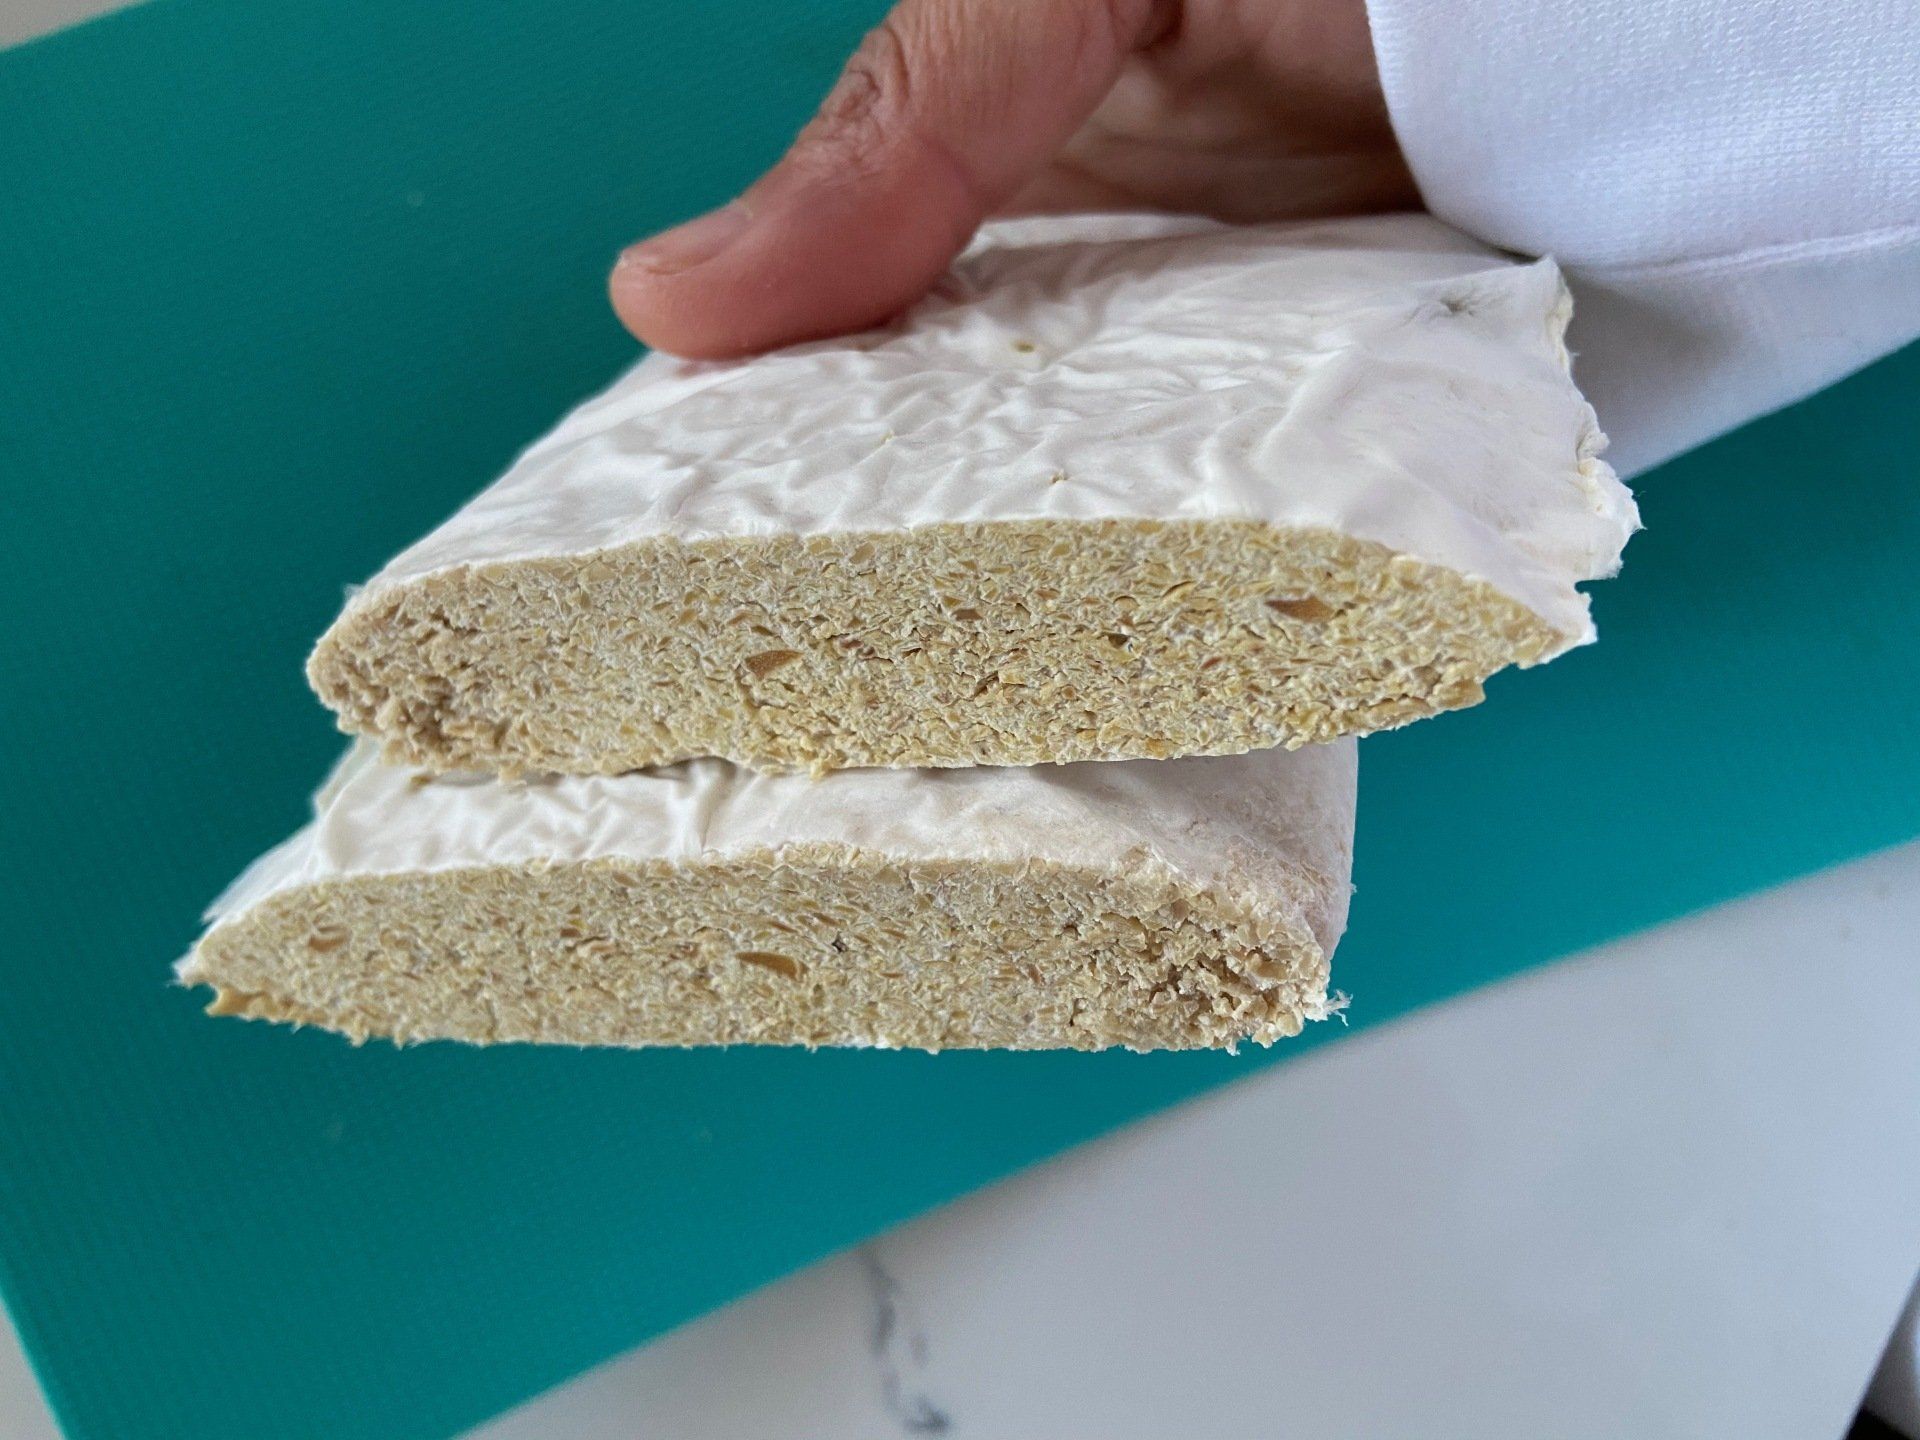
After turning off the heater I left the batch to ferment on its own in the kitchen for a further 24 hours. The result on Wednesday morning at 8am can be seen below - a perfect white and solid block of soya beans tempeh (made with our very own organic split soya beans).
We hope you find this article helpful and, if you use any of the methods below, please tag us on social media. Good luck!
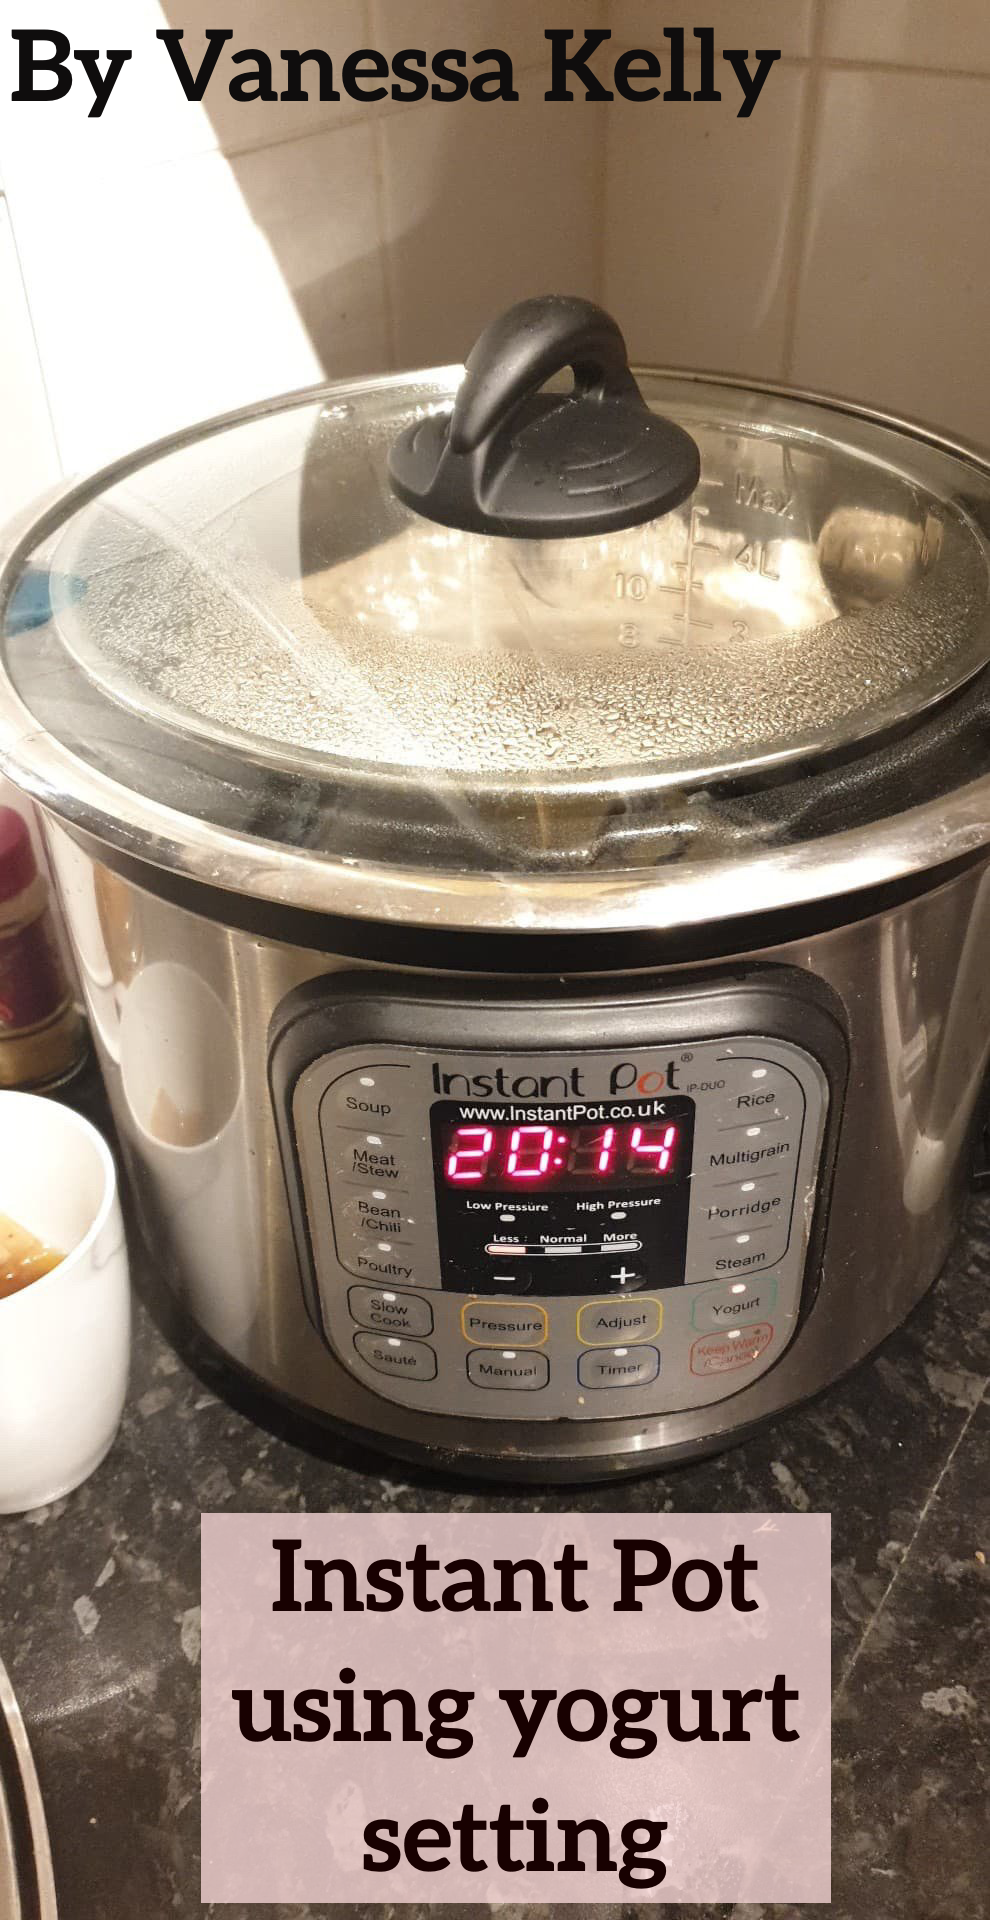
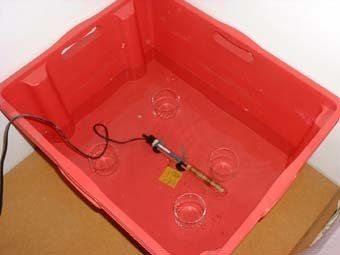
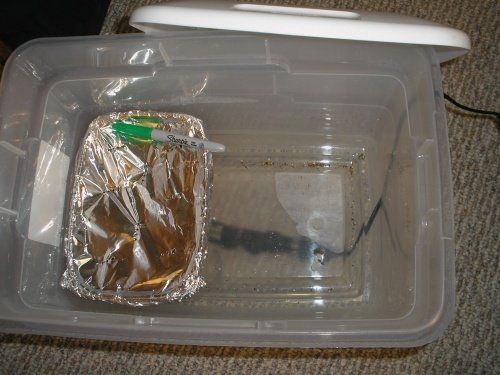
Hot water bottle method
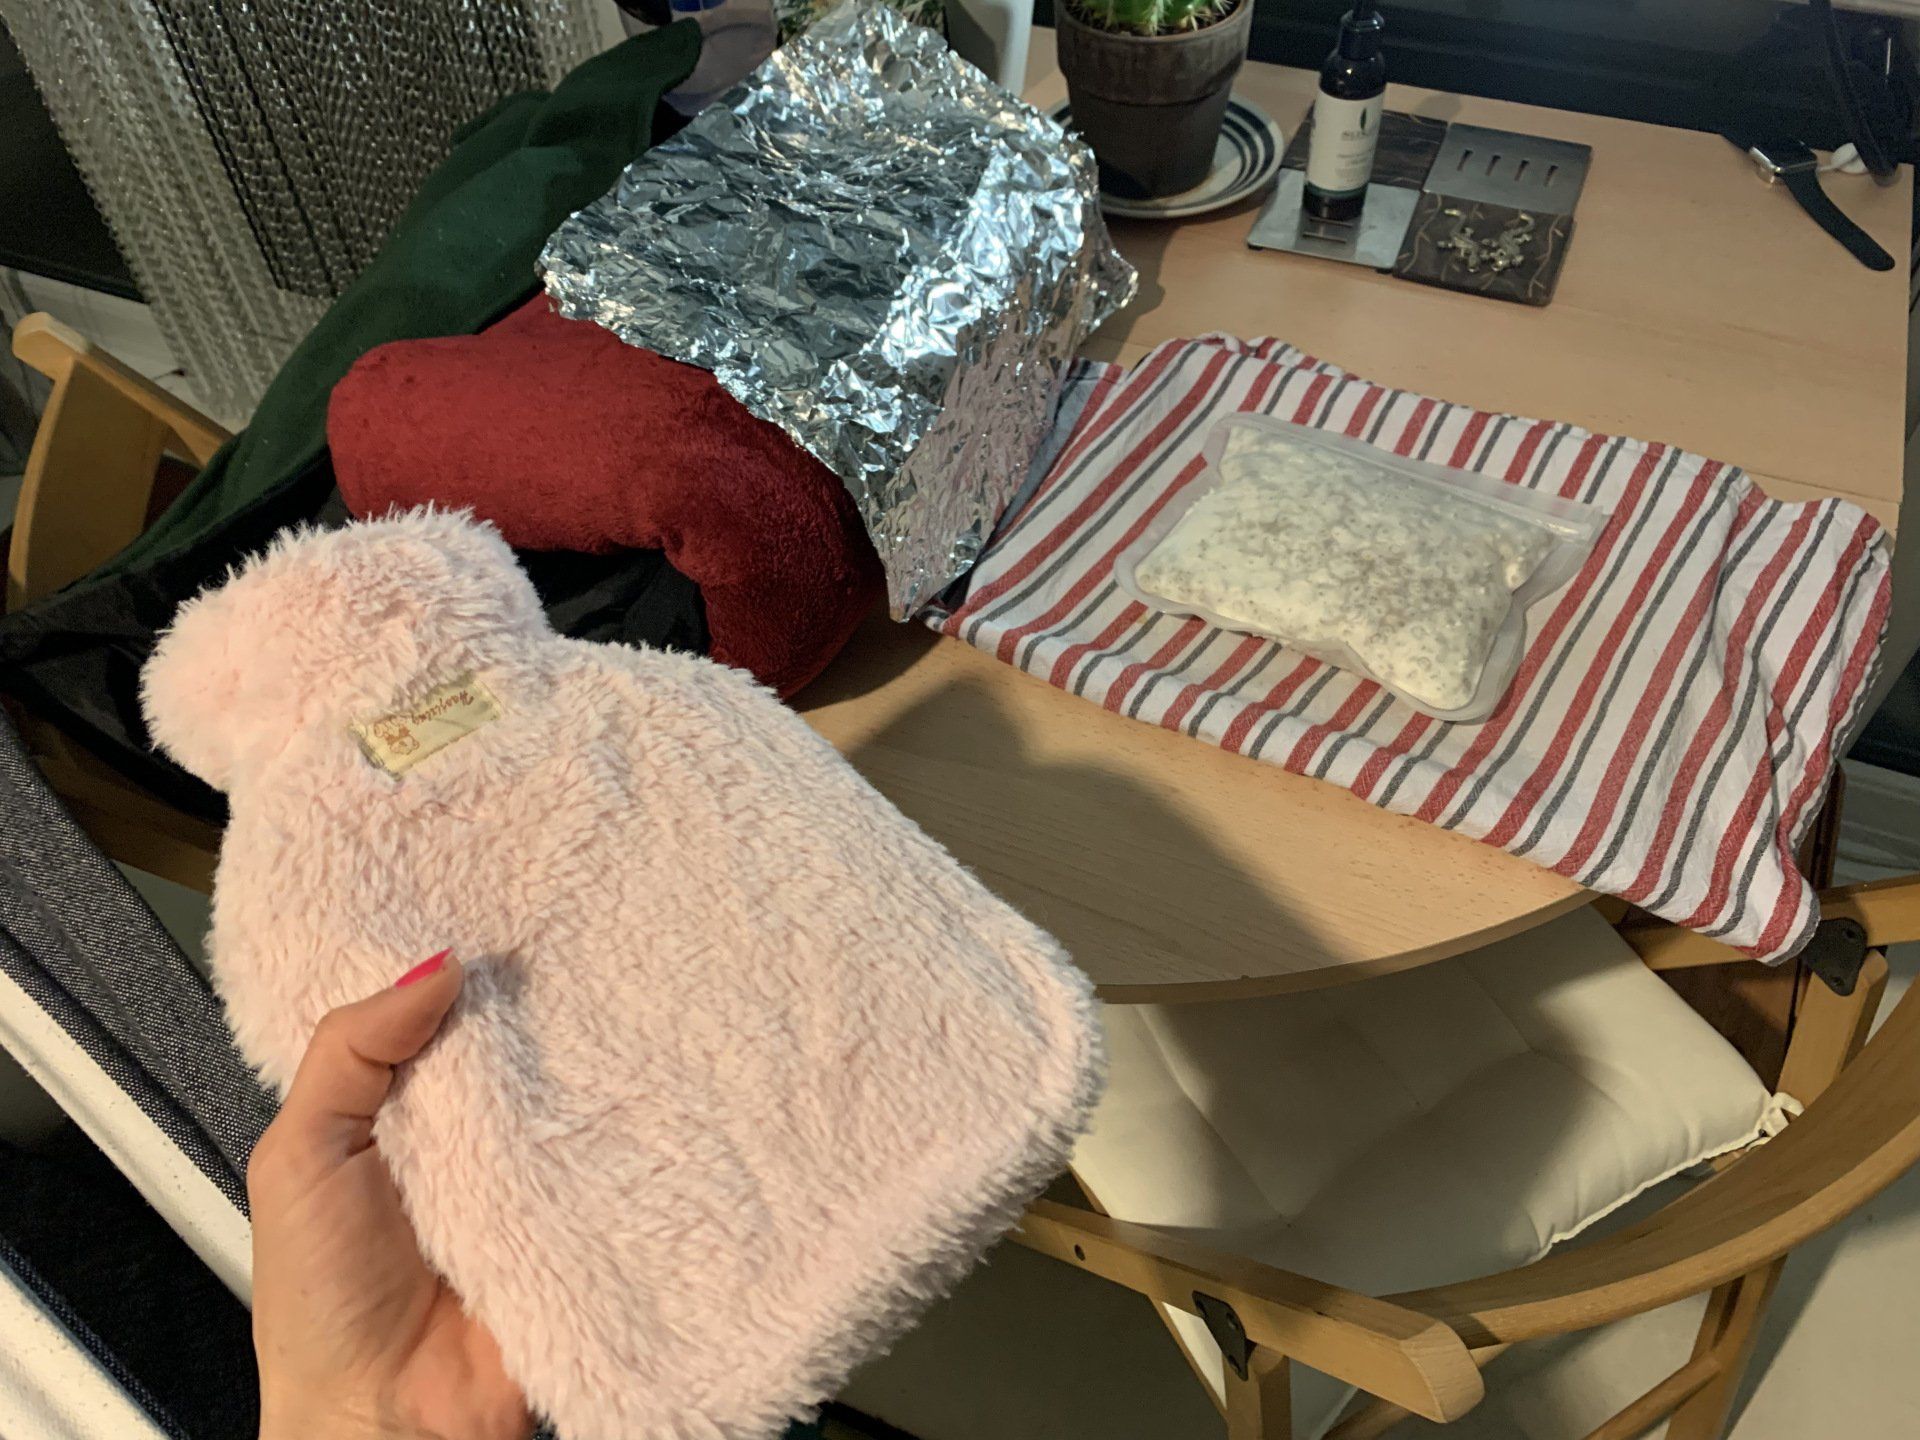
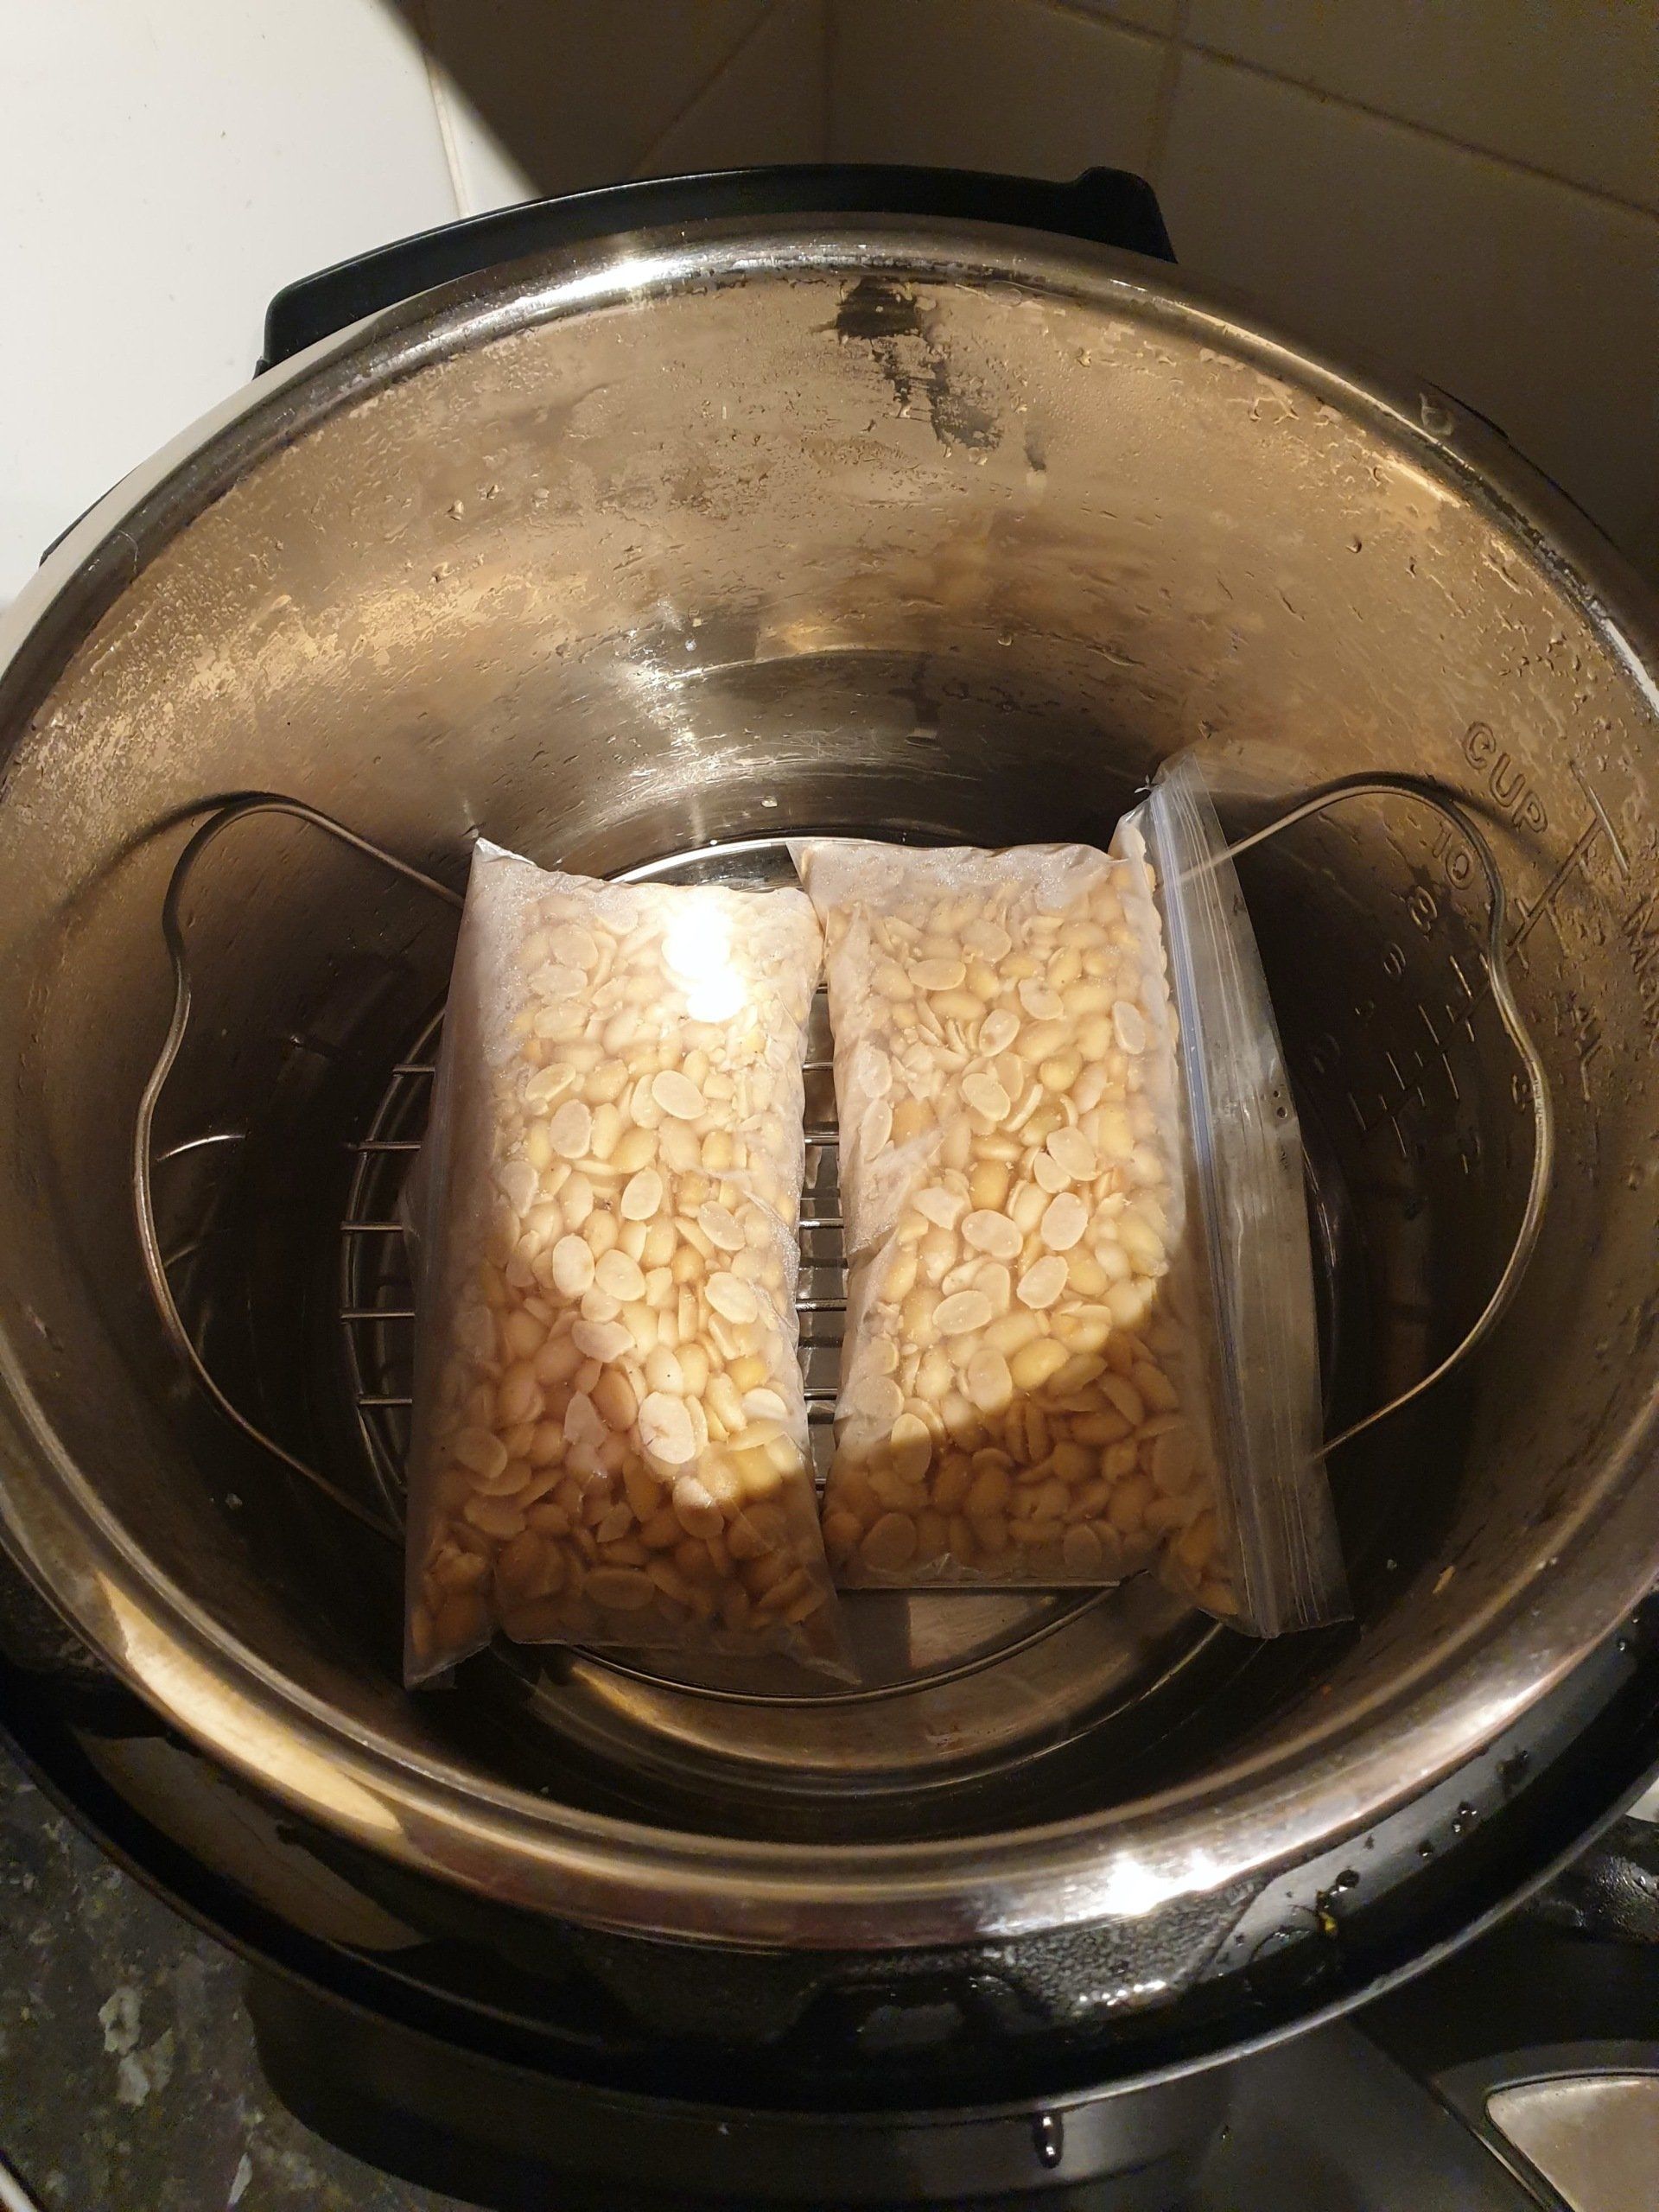
Process
Photo By: Dagmar Scheibenreif
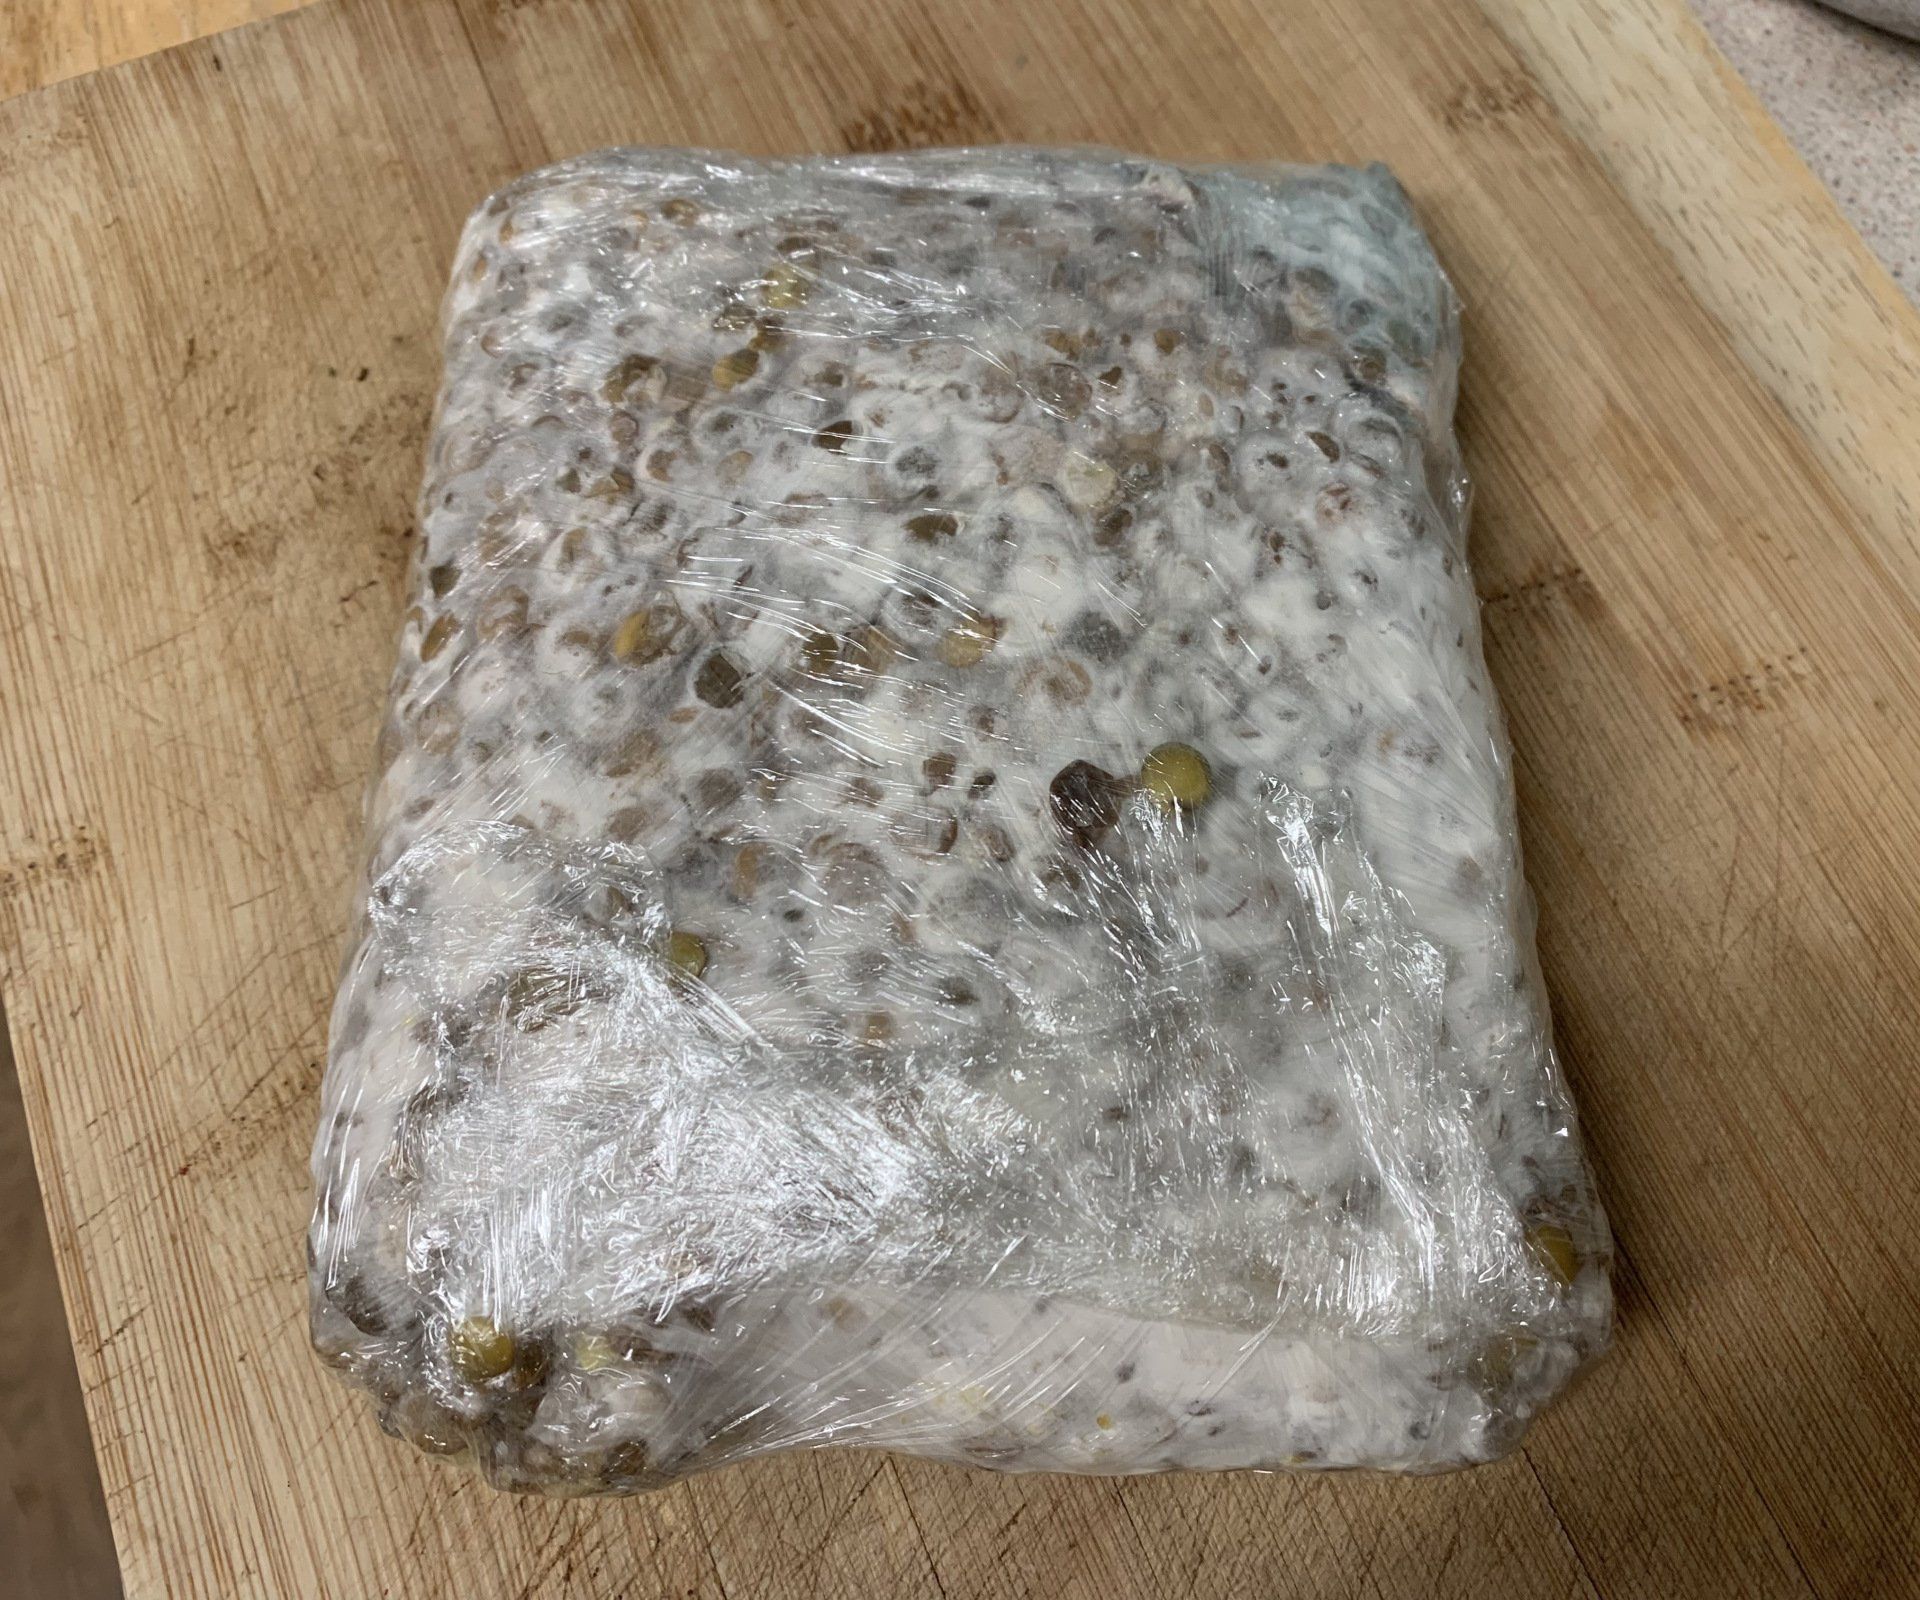
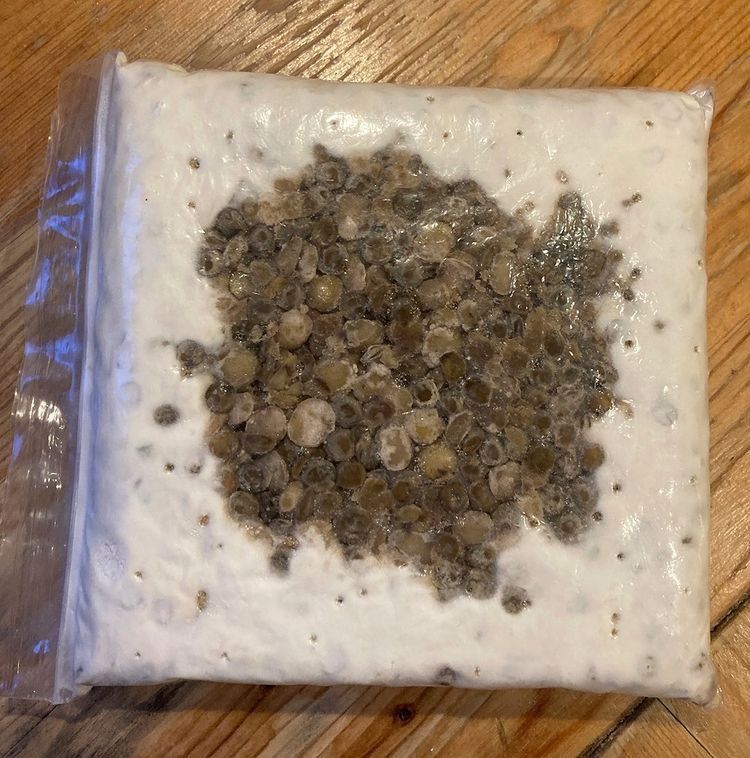
After 2 days
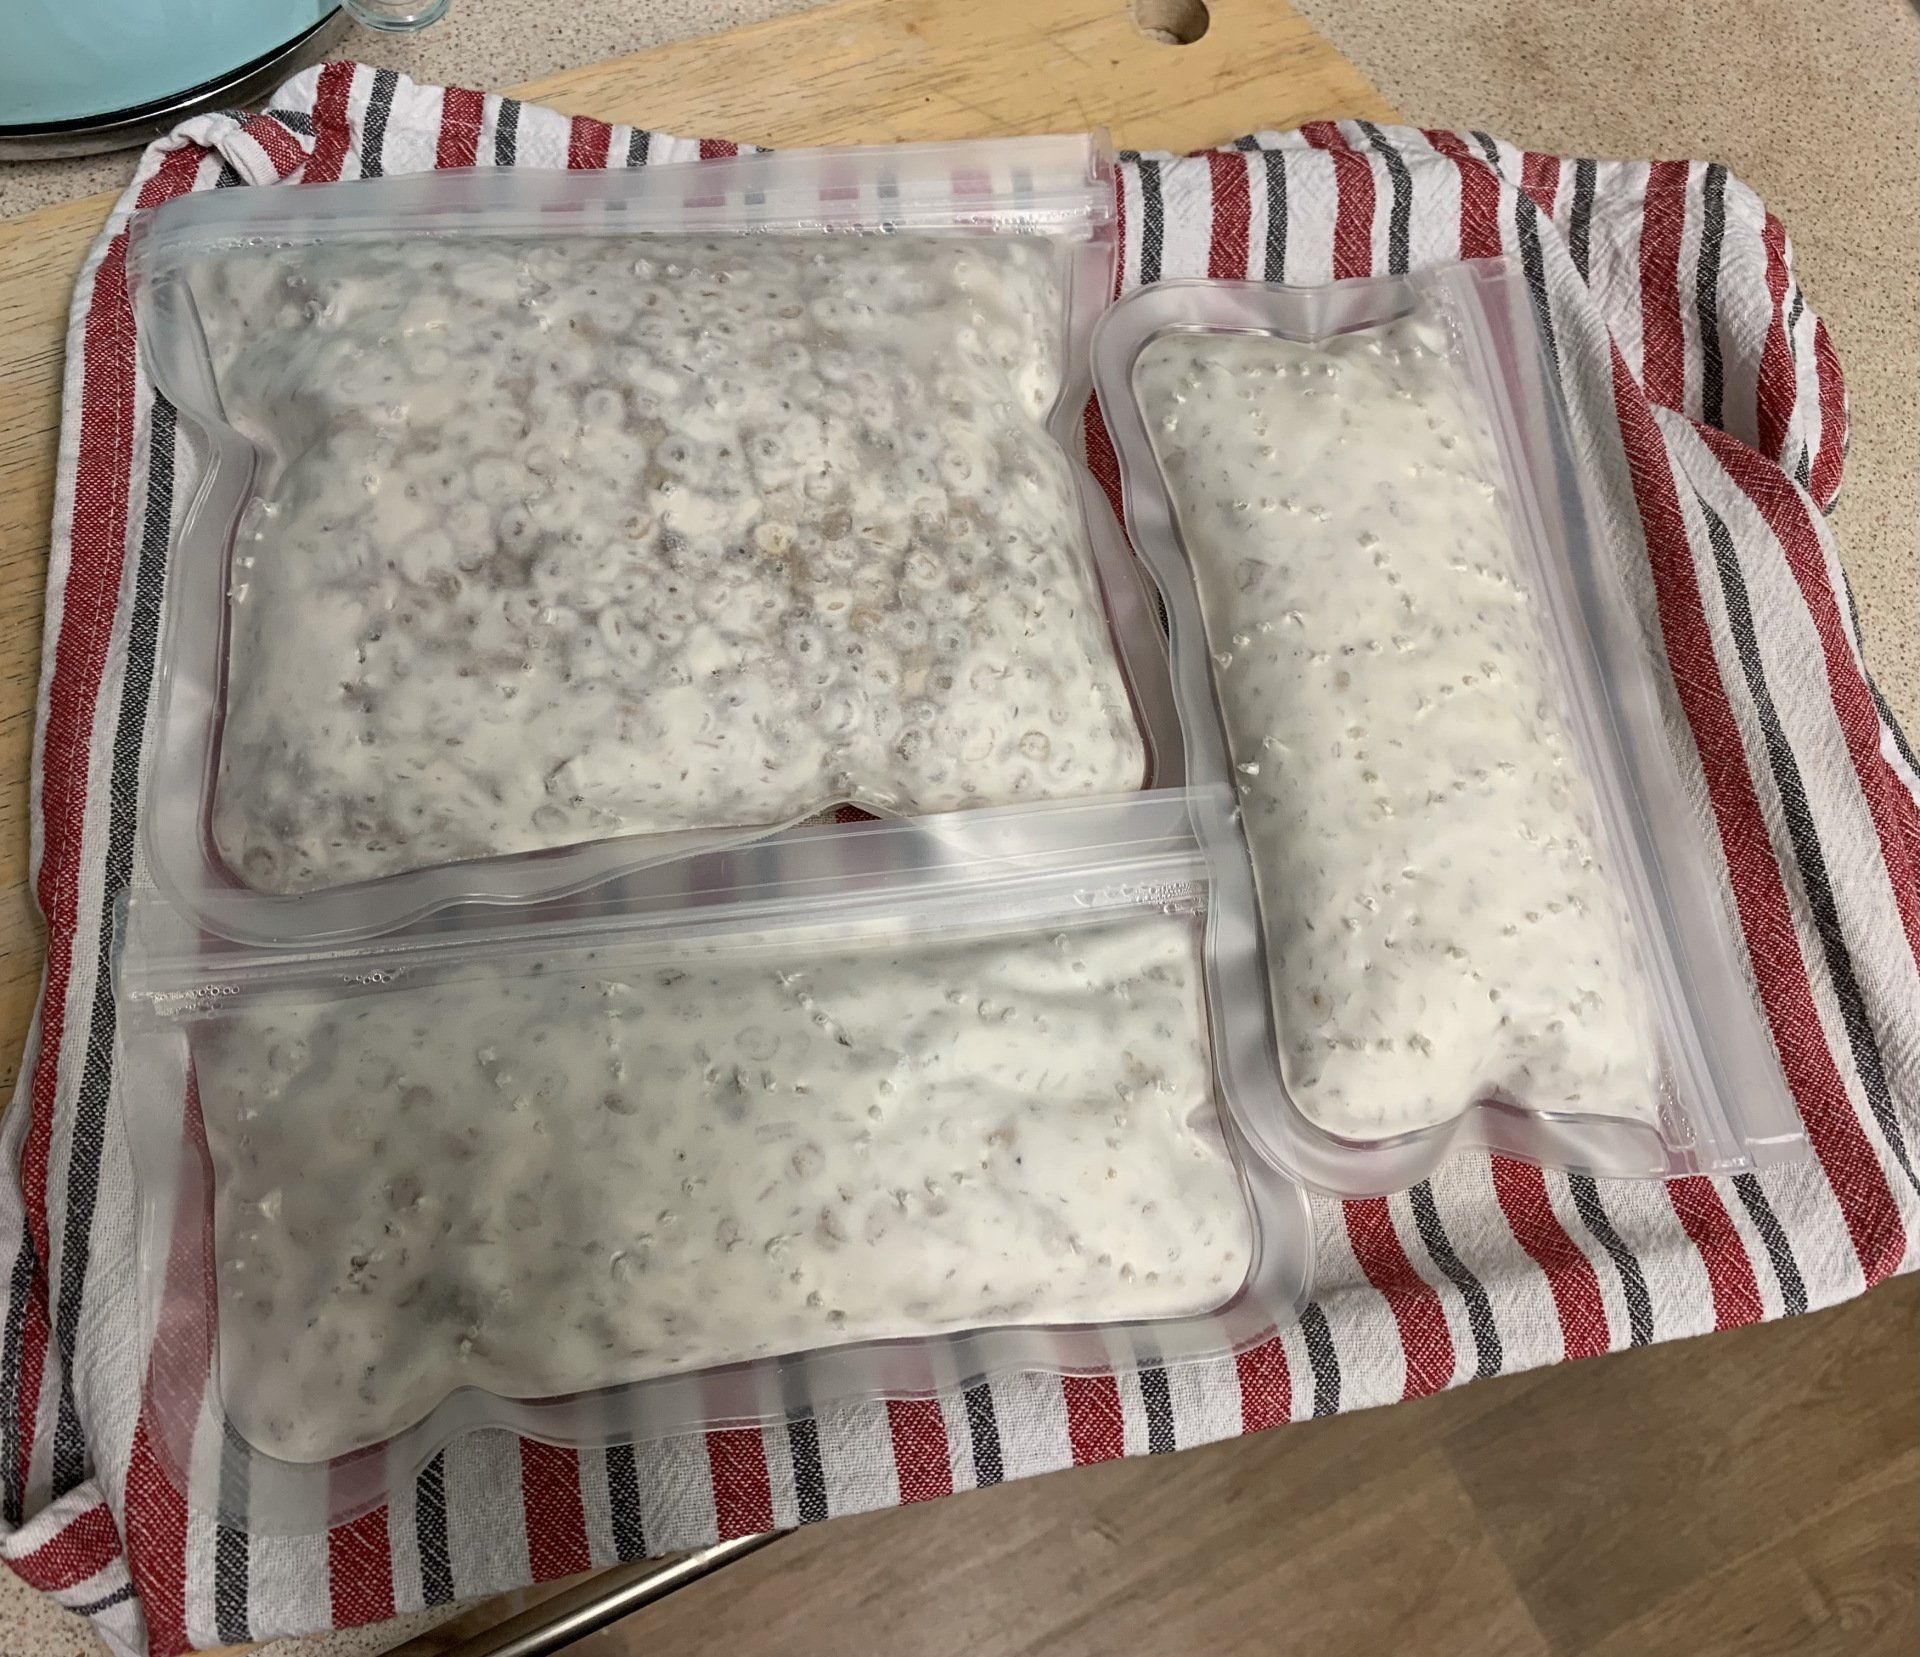
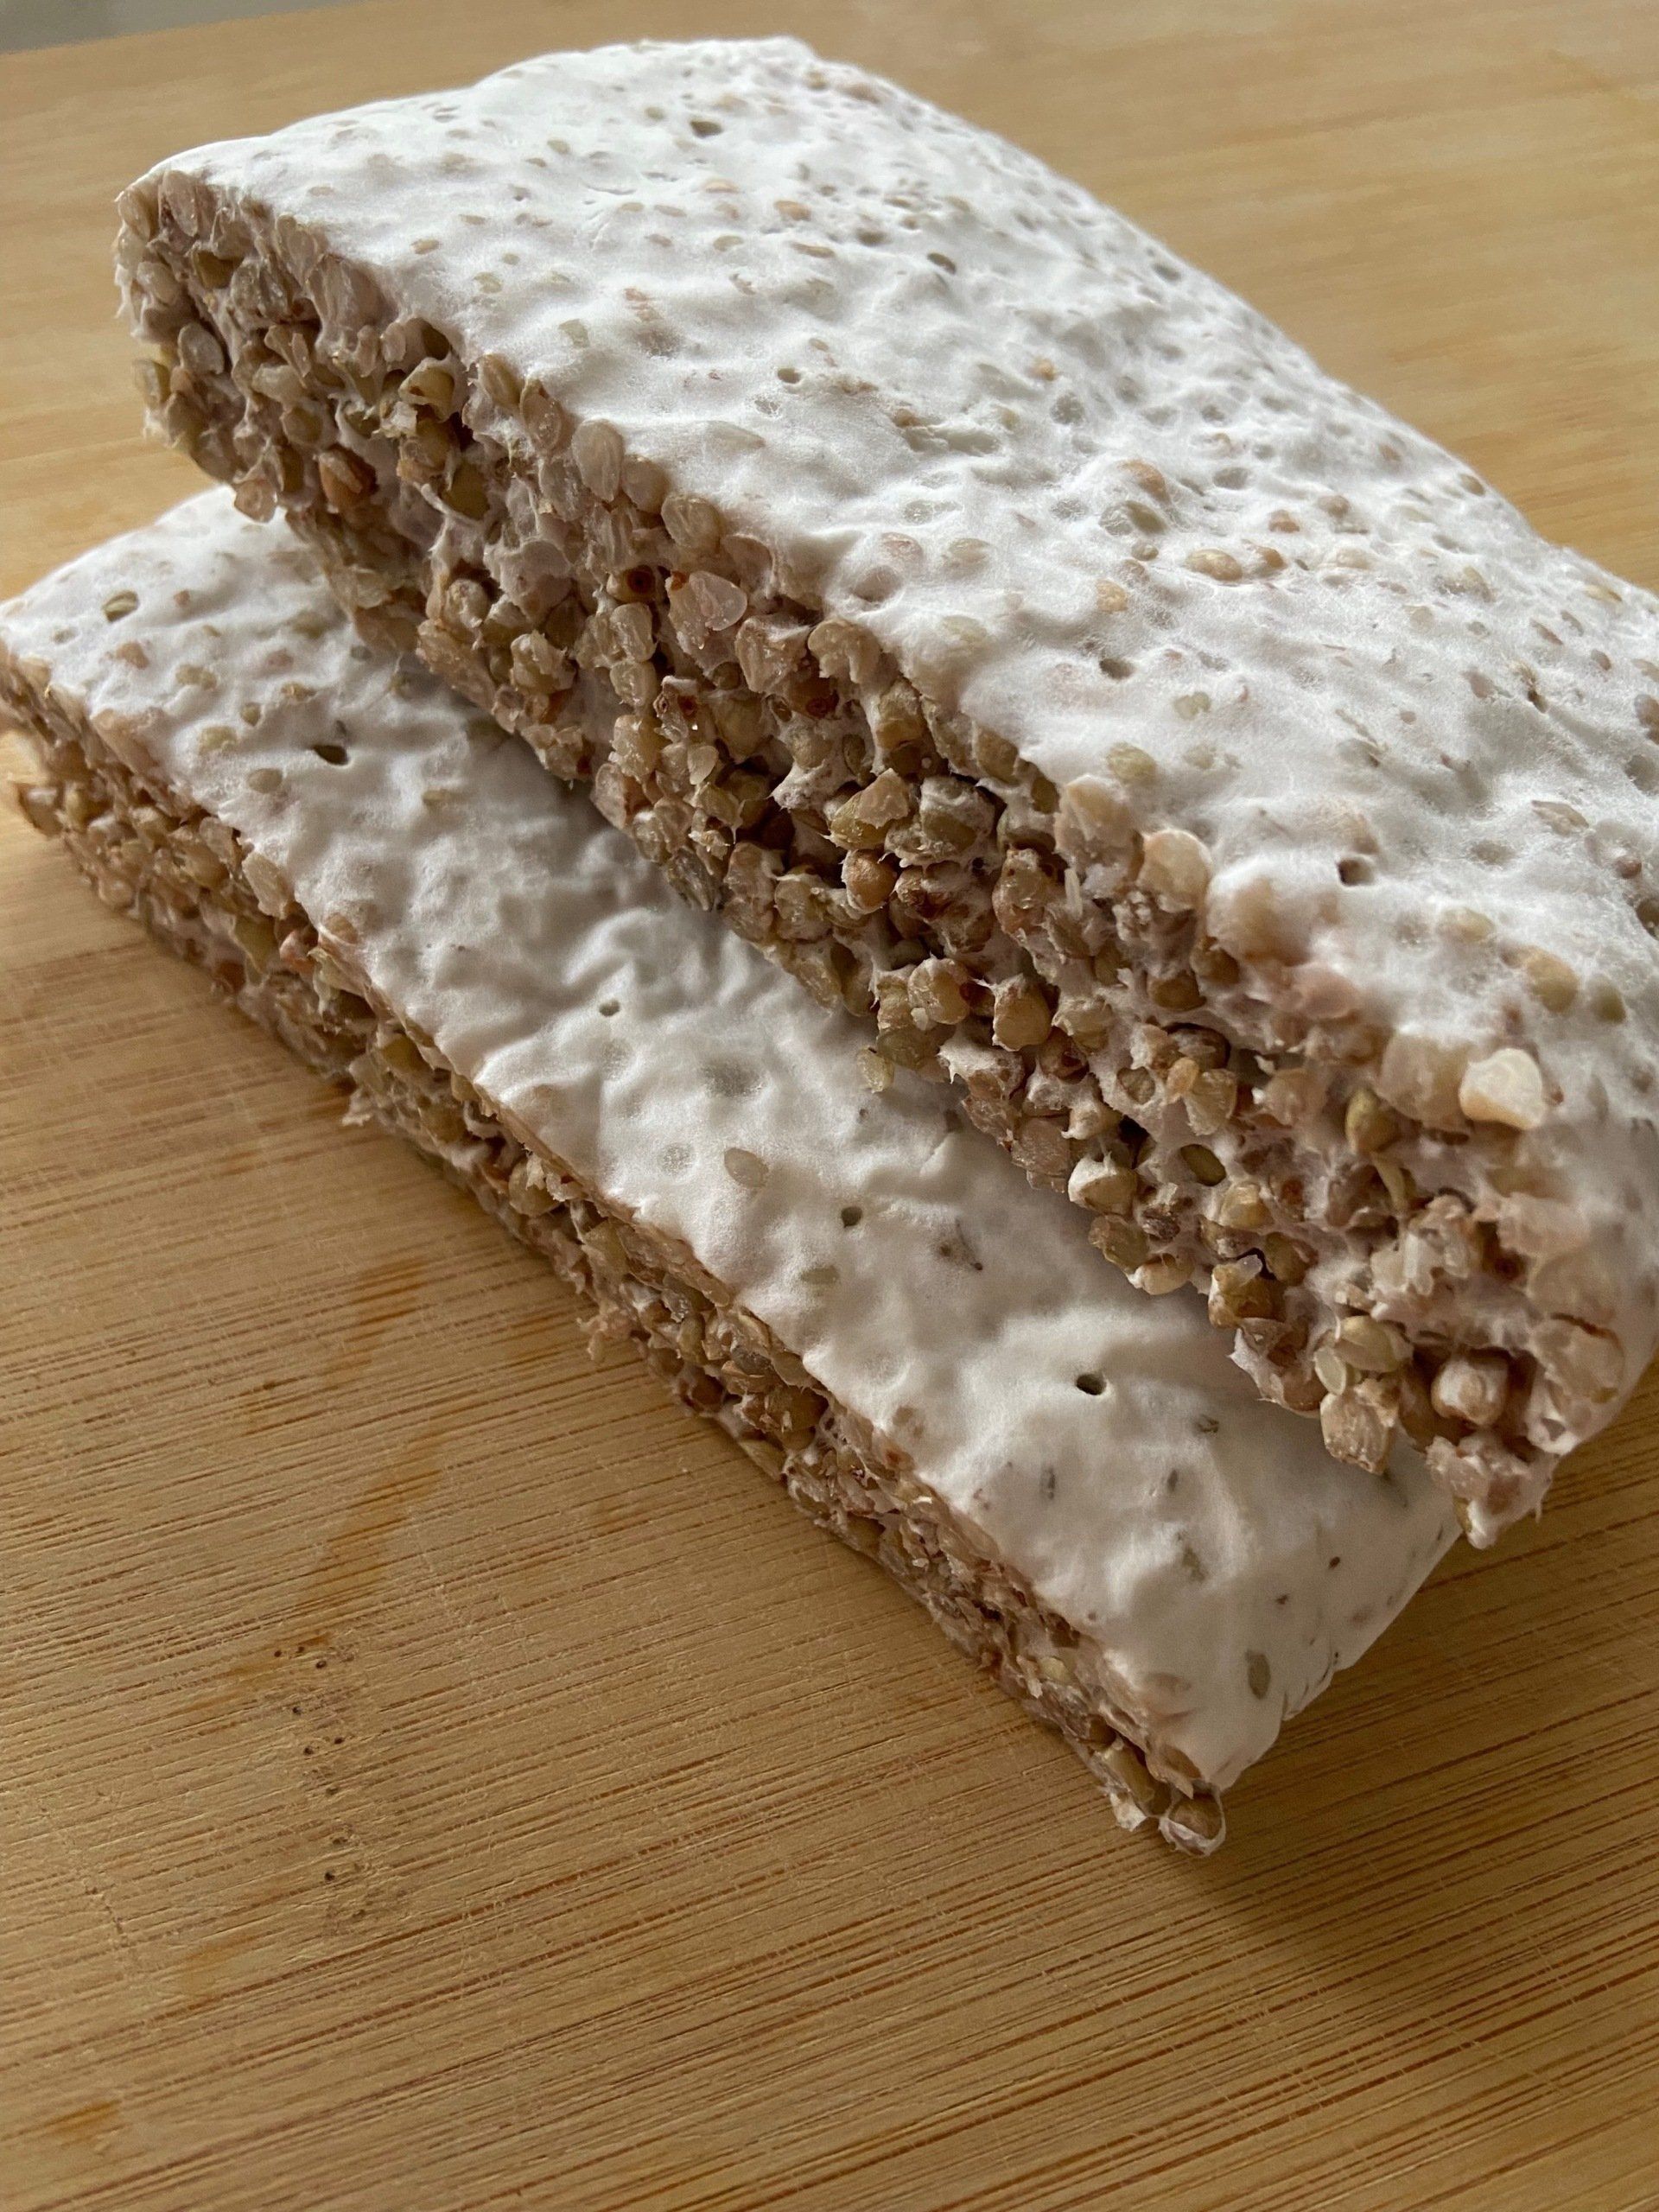
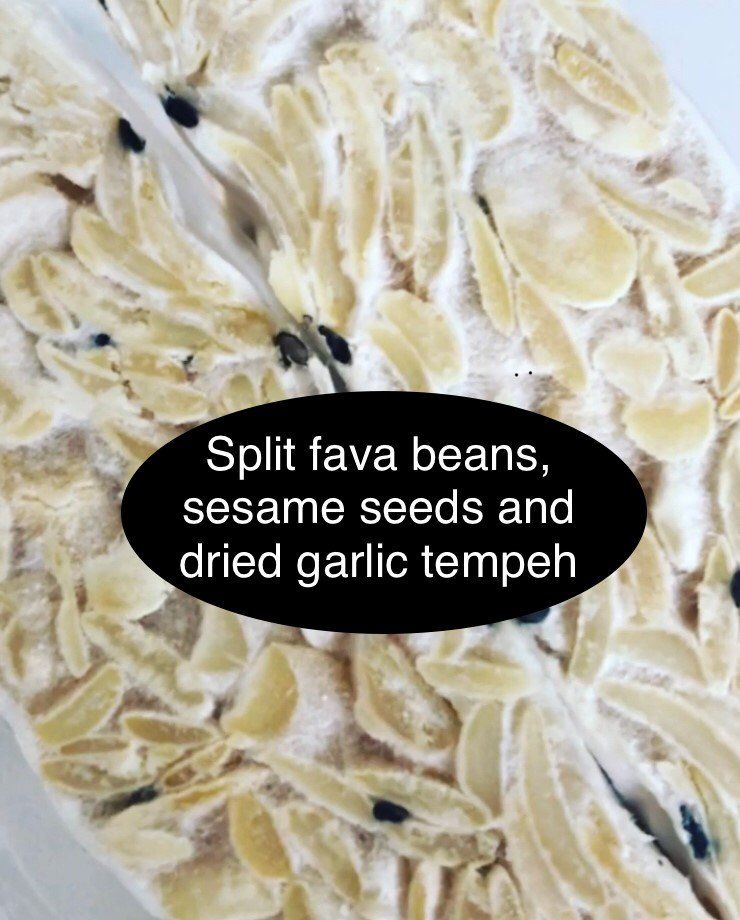
3 succesful batches
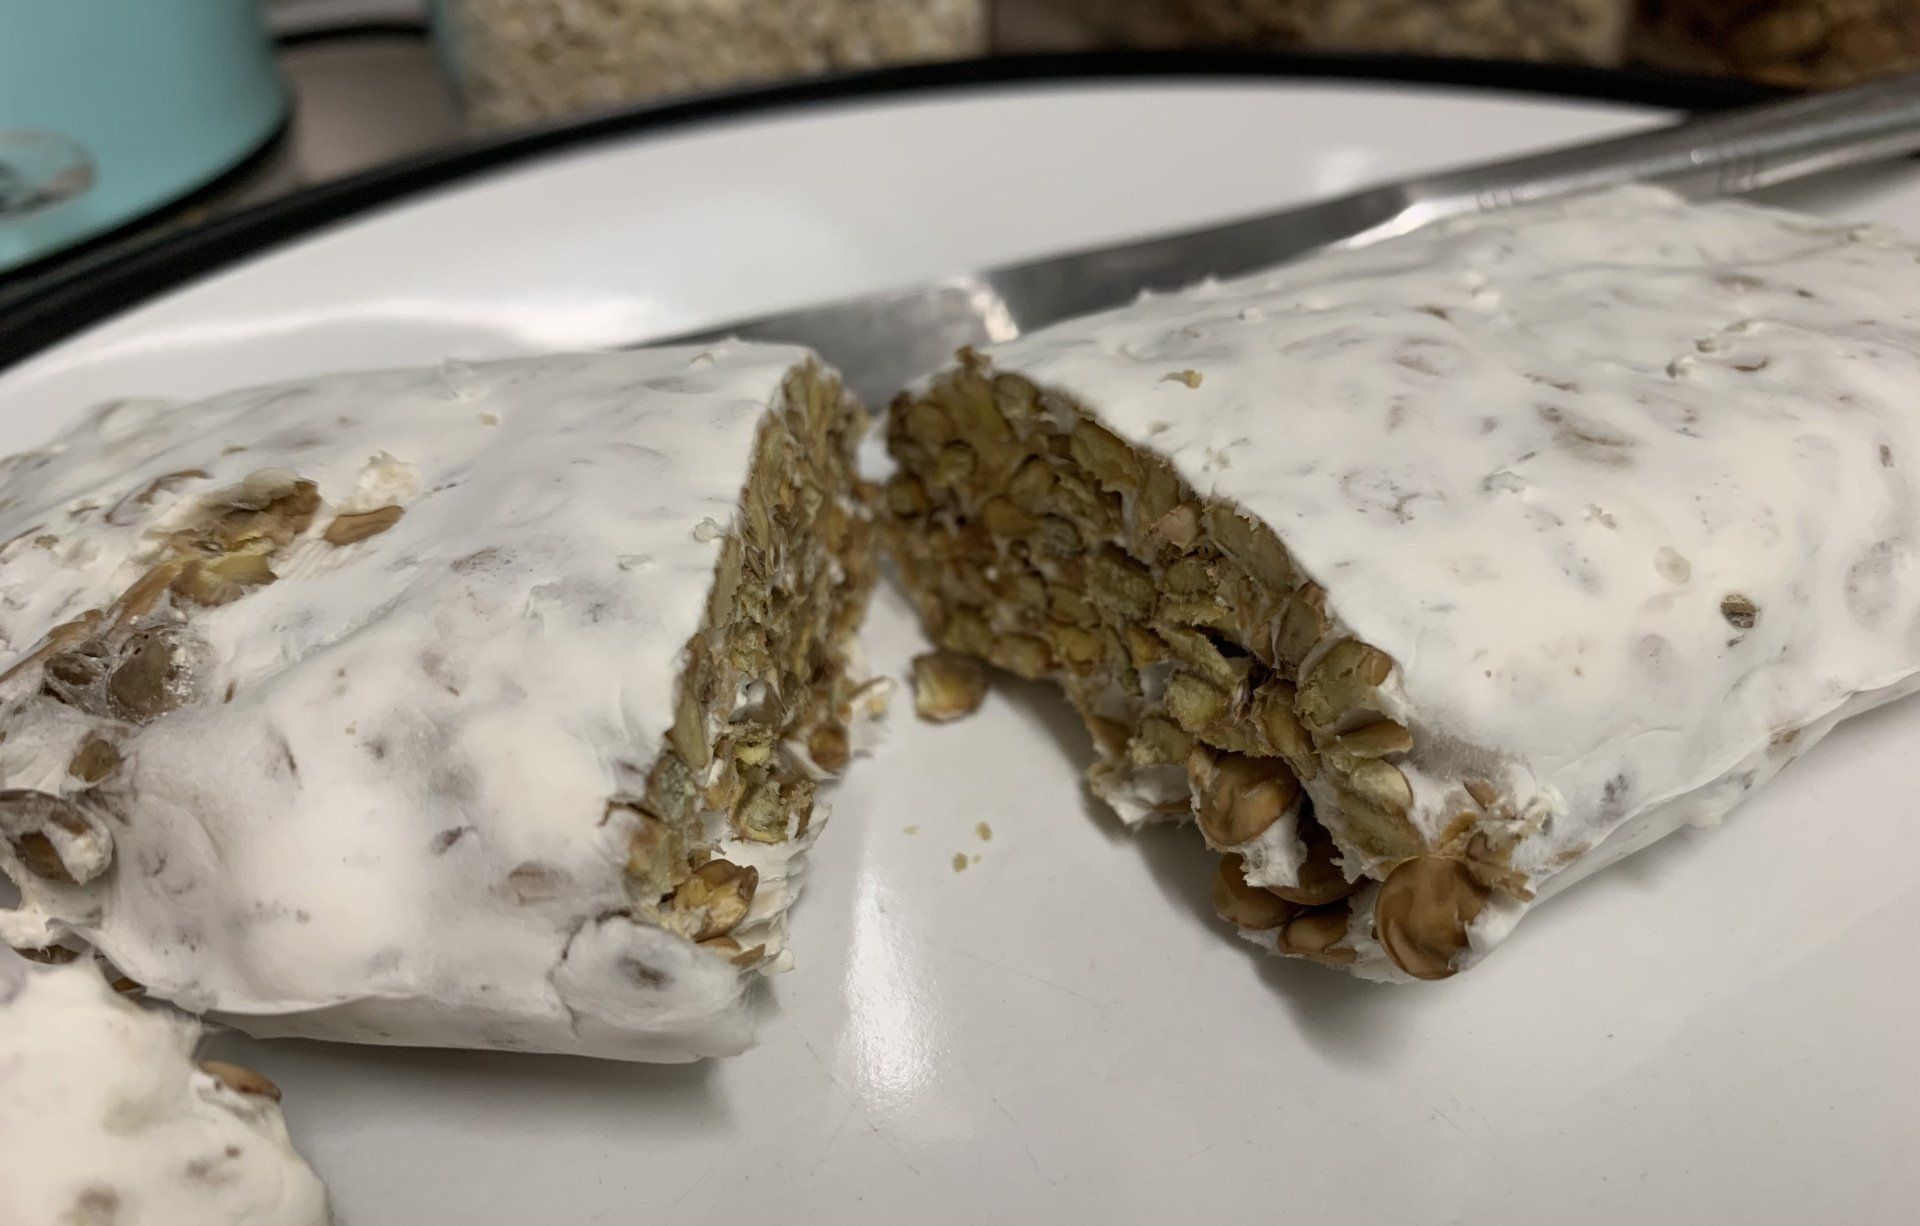
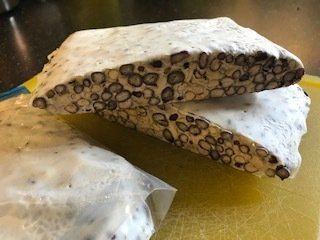
Green lentils tempeh close up
Dagmar kept it for 24 hours under 2 blankets with aluminium foil just above the tea towel and a hot water bottle that refilled twice during that time in between the two blankets.
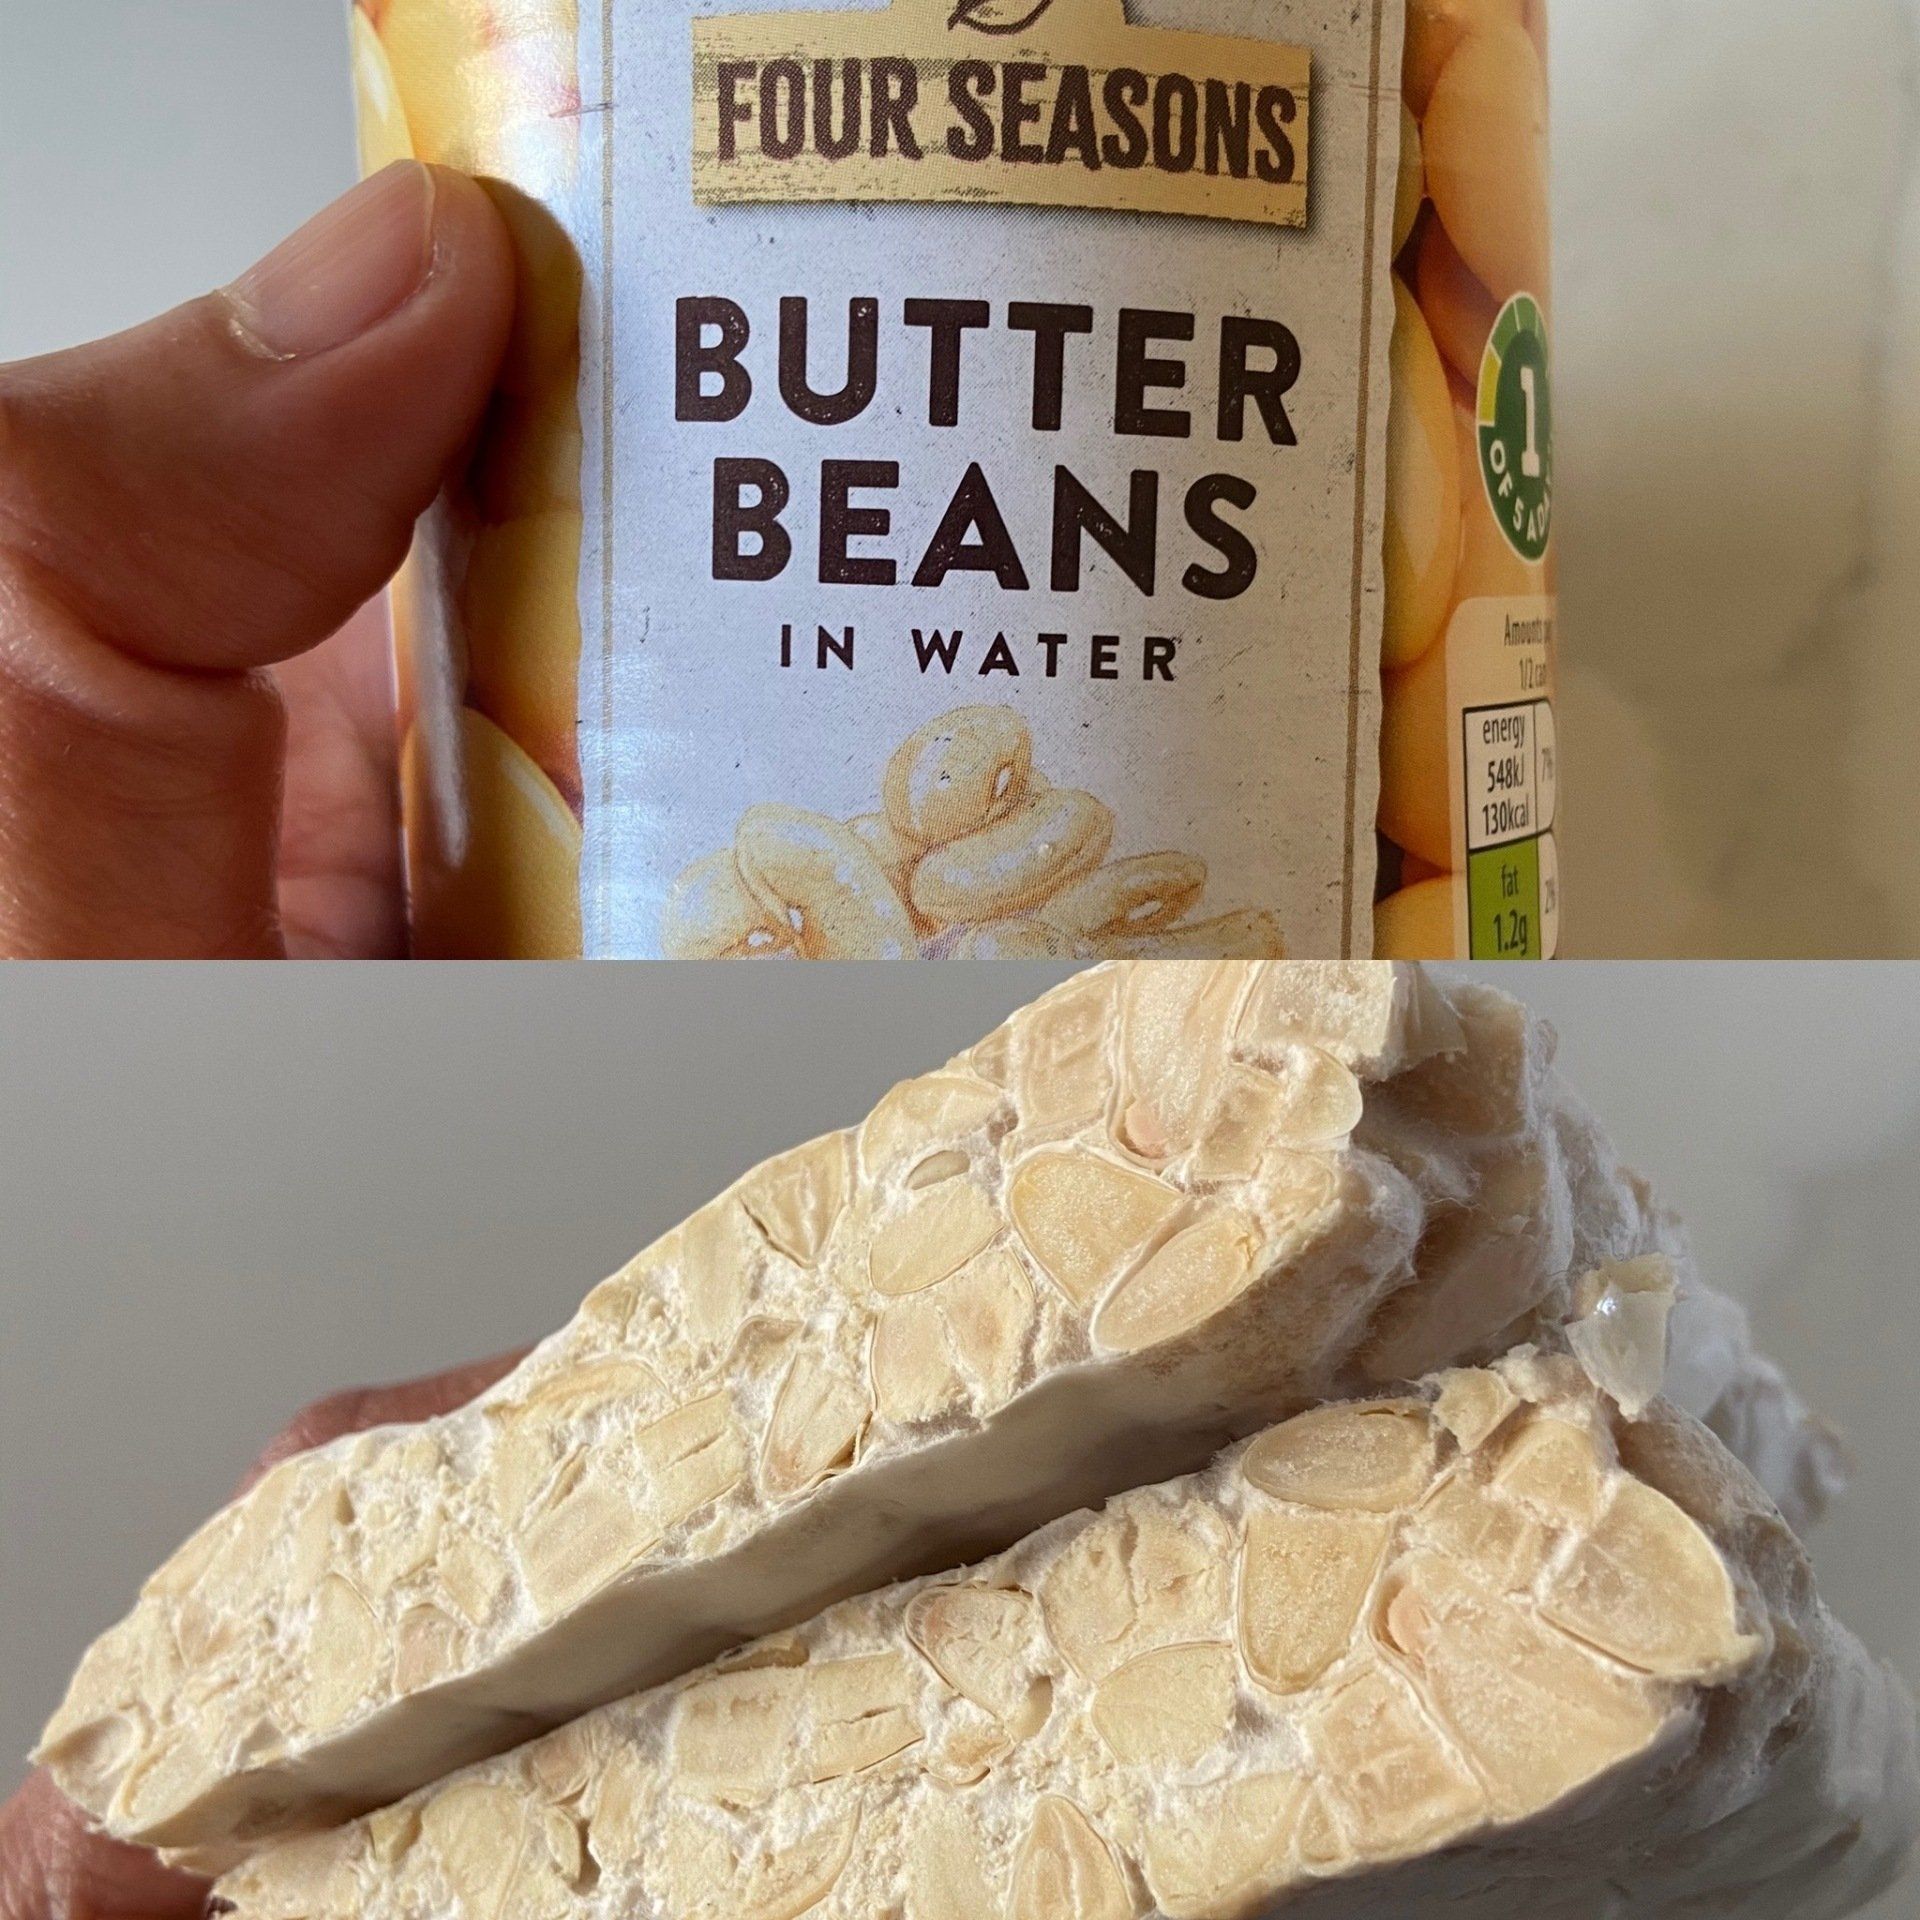
She measured and the temperature was just over 27C. There was no oven or electricity needed other than to boil the kettle. She then kept it at room temperature for another 24 hours and that was it. She cooked one piece and froze the rest immediately.